

Nothing kills the rustic charm of a barn door window covering faster than a door that bangs against the window casing or swings out into the room like a pendulum. You see the photos online—clean, flush, perfectly covering the glass—but your first attempt left light bleeding around all four edges and scuff marks on the wall. That gap between fantasy and finish exists because a barn door over a window isn’t a shade, a curtain, or a Roman blind. It’s a door that slides on a track, and that changes every measurement, mount, and material decision you make. If you need something in place while you plan, our temporary window coverings roundup covers quick fixes that won’t leave holes in the wall.
Key Takeaways
- A barn door window covering must be wider than the window frame by at least 2 inches on each side to stop edge light.
- The track needs to lag into studs or a reinforced header; drywall anchors alone will eventually pull out under the door’s weight.
- A floor guide is not optional—it controls the door’s swing and keeps the bottom edge from scratching the wall.
- The window’s side reveal must be deeper than the door’s thickness, or the door won’t sit flush against the frame and light will leak around the edges.
The Geometry of a Barn Door Window Covering
The critical distinction in a barn door window covering is that it behaves like a door, not a shade: it needs a dedicated header and a clear swing path, so the mounting surface and clearance above the window determine everything. Unlike Roman shades, which hang inside or outside the frame, a barn door must be wider than the opening to block light properly, and a floor guide is non-negotiable to keep it aligned. Most novices miss that the door’s thickness must be less than the window’s side reveal, otherwise it won’t sit flat against the frame.
Measuring for Full Coverage
Start with the outside dimensions of the window casing, not the glass itself. A casing that protrudes 2 inches from the wall needs the door to overlap that entire protrusion plus extra, so take the casing width and add at least 2 inches on each side—4 inches total—as a bare minimum. For true darkness in a bedroom or media room, add 3 to 4 inches per side instead, bringing the door to 6 to 8 inches wider than the visible window frame. That extra width blocks light that sneaks around the edges when the door is closed.
For height, measure from the floor to the top of the casing, then add clearance for the track and hangers (usually 4 to 6 inches) plus at least 2 inches of overlap below the window sill. A door that ends exactly at the sill will show a bright sliver of light underneath. The panel should extend below the sill by at least 2 inches, or down to within 1/2 inch of the floor if you want full coverage.
The Side Reveal Problem
The side reveal is the distance from the front face of the window casing to the wall surface behind it, measuring into the room. If your window sits deep in the wall—say, 3 inches of reveal—then a 1.75-inch-thick door will slide past easily and sit flat. But many modern windows have shallow reveals of only 1 to 1.5 inches, especially with thick casing or if the drywall is flush with the window frame. In that case, any door thicker than the reveal will knock against the casing every time you slide it.
You have three fixes: use a thinner door panel (1 3/8 inches is common for interior doors), build out the wall with a mounting board to increase the reveal, or mount the track on standoff brackets that hold the door proud of the wall. Standoffs add depth but create a larger light gap behind the door, so they are a compromise. Measure the reveal before you order anything.
Clearance Above the Window
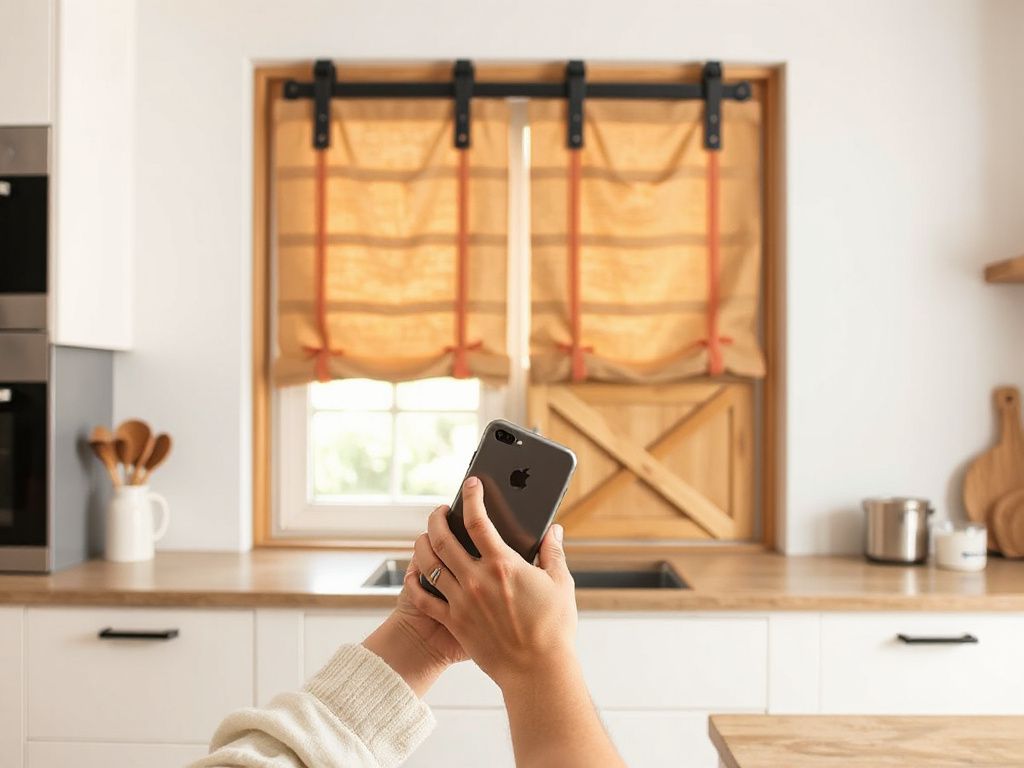
Barn door hardware needs vertical space. The track itself sits above the door, and the hangers that attach to the door ride on that track, adding about 3 to 5 inches of height. A typical setup with a box rail track and strap hangers requires 4 to 6 inches of clearance above the top of the door panel. If your ceiling is 8 feet and your window top is 80 inches from the floor, you have only 16 inches of wall above the window—enough for a door that covers the window plus 4 inches top overlap and 4 inches of hardware. But if your window goes nearly to the ceiling, you’ll need to shorten the door or use a low-profile track system.
Mounting the Track: Studs, Level, and Load
A barn door track must be mounted perfectly level, and every lag screw must bite into a stud or a solid header; otherwise the door will drift to one side and the rollers will bind. Drywall alone cannot hold a sliding door. A solid wood door for a large window can weigh 50 to 150 pounds, and that weight pulls outward and downward on the track with every slide. Drywall anchors rated for 50 pounds in shear will fail over time because the load is dynamic, not static—the door swings slightly as it moves, working the anchors loose.
Use a stud finder to locate the wall studs behind the drywall. If the studs don’t line up with the track mounting holes, install a header board: a 1×4 or 2×4 piece of lumber that spans the width of the door opening, secured to the studs with 3-inch construction screws every 16 inches. Then mount the track to the header board with the lag bolts that come with the hardware. Brands like Johnson Hardware and HAFELE sell tracks rated for specific door weights, so check the rating before you buy. A 100-pound door on a 50-pound track will sag within months.
Controlling the Swing: Floor Guides and Alignment
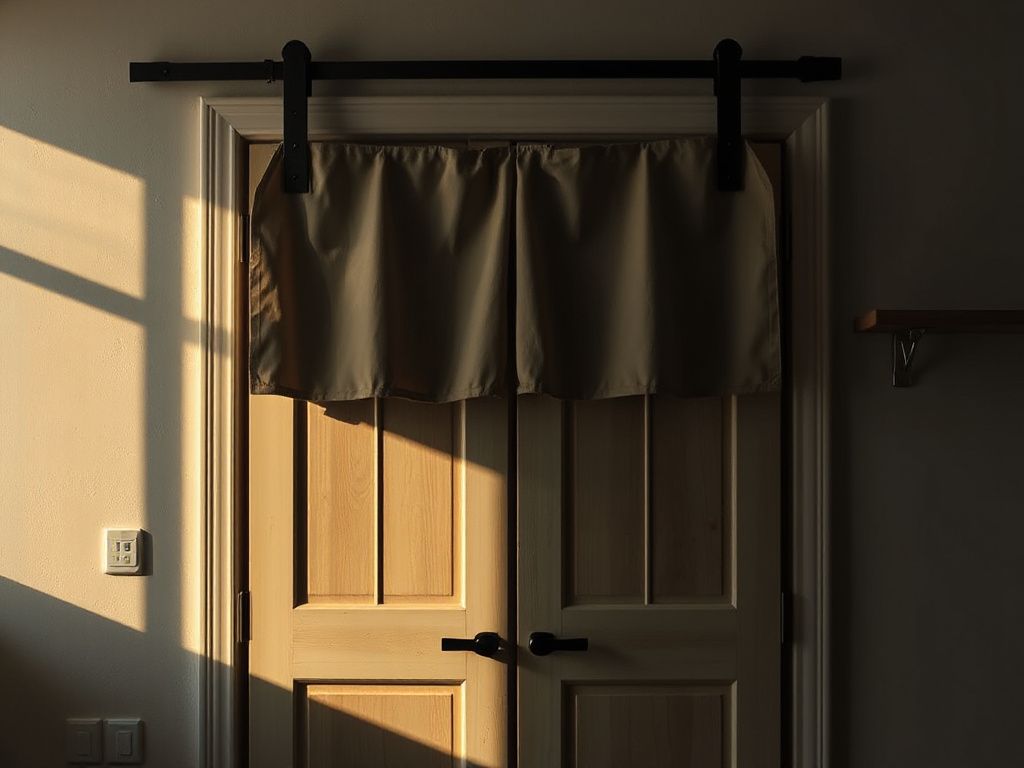
A barn door hangs from a single top track, which means the bottom edge is free to swing. Any bump, draft, or off-center push sends the bottom of the door swinging into the wall or the window casing. The fix is a floor guide—a small pin, channel, or wheel that sits in a groove cut into the bottom edge of the door and keeps the bottom aligned with the track above. Without one, the door will eventually gouge the drywall and chip the paint off the casing.
There are three types of floor guides: side-mounted guides that screw into the baseboard or wall, floor-mounted guides that screw into the floor, and roller guides that attach to the wall but have a small wheel that rides in the door groove without touching the floor. For renters or anyone who doesn’t want to drill into a finished hardwood or tile floor, a side-mounted guide is the best choice—it attaches to the baseboard with two small screws, and when you remove the door, the holes are easy to patch. Floor-mounted guides require drilling into the floor, which is permanent. Roller guides are the least invasive but can be finicky on uneven floors.
Materials and Light Blocking: What Actually Works
For a window covering, the door’s material matters for two reasons: weight and light leaks. Solid wood slabs—oak, pine, or a glued-up panel of boards—block light completely because there are no gaps through the door itself. But wood expands and contracts with humidity, so a single wide board can warp. A better choice for a wide window is a tongue-and-groove panel made from multiple narrow boards, which resists warping and still blocks light because the joints interlock. MDF (medium-density fiberboard) is a flat, stable, and inexpensive alternative that blocks light well, but it is heavy and will sag if the door is wider than about 36 inches without a stiffener rail. Reclaimed wood looks fantastic, but the cracks, knots, and nail holes in reclaimed barn wood are literal light leaks. If you use reclaimed wood, back it with a thin sheet of plywood or hardboard to seal those gaps.
Even with a solid door, light sneaks around the edges because the door hangs off the wall on the hangers, leaving a small gap between the back of the door and the wall surface. A door that is 1.75 inches thick with hangers that offset it 1 inch from the wall creates a 1-inch perimeter gap. To fix that, install light-blocking weatherstripping on the back edges of the door—the fuzzy or foam strips made for exterior doors. It compresses against the wall when the door closes and kills most of the edge glow. For total blackout, pair the barn door with a blackout Roman shade mounted inside the window frame, but that defeats the purpose of the barn door as the sole covering.
Do barn doors block light as well as Roman shades? A properly sized and edge-sealed barn door can block light nearly as well as blackout Roman shades, but the track and hanger offset creates a small gap around the perimeter that shades don’t have. Roman shades mount flush against the window or inside the frame, so they eliminate side gaps entirely. If your goal is a pitch-dark room for sleeping, a blackout Roman shade is technically better. If you want the architectural statement and are okay with a faint glow at the edges, a barn door works. For more on maximizing light control from the outside, see these exterior window treatment ideas that pair well with interior barn doors.
Single Track vs. Bypass Track for Wide Windows
A single track holds one door panel that slides left or right, and it requires a clear wall space equal to the door’s width on one side of the window. For a window 48 inches wide, you need a door at least 52 inches wide for proper overlap, plus 52 inches of empty wall next to the window for the door to slide into. If your window is on a narrow wall, that won’t work. A bypass track uses two parallel tracks, one behind the other, so two doors slide past each other. Each door covers half the window, and when open they stack in front of each other, taking only the width of one door in side clearance. For windows wider than about 60 inches, a bypass setup is usually the better choice because a single door over 5 feet wide becomes very heavy and prone to racking. Can you use a barn door for a wide window that’s shorter than standard doors? Yes—you can cut any door panel down to size, but the weight and side clearance issues remain. Split a wide window into two bypass doors for smoother operation.
Installation Steps and Ongoing Maintenance
The installation sequence matters because each step depends on the previous one. Get the order wrong and you’ll be remounting the track twice.
Step-by-Step Installation Overview
- Measure the window and door. Confirm the door width and height using the methods above, and check the side reveal depth against the door thickness.
- Locate studs and install a header board if needed. Mark stud centers with a stud finder, then screw a 1×4 or 2×4 header into the studs at the height you calculated for the track. Level the header perfectly.
- Mount the track to the header or directly to studs. Use the lag bolts included with the hardware, and predrill the holes to avoid splitting the wood. Check level again before final tightening.
- Attach the hangers to the door. Follow the manufacturer’s spacing—usually 1 to 2 inches from each edge and every 16 to 24 inches in between. Tighten the anti-jump discs so the door cannot lift off the track.
- Hang the door and test the slide. The door should glide with one hand. If it binds, loosen the hanger bolts and adjust the door’s alignment.
- Install the floor guide. Position the guide at the closed position, mark the screw holes, and attach to the wall or baseboard. Adjust the guide wheel or pin so it rides smoothly in the door’s bottom groove.
- Set the end stops. Most tracks have small rubber or metal stops that limit how far the door slides. Set them so the door stops exactly where it covers the window completely without slamming into the wall.
Maintenance for Track and Rollers
Barn door hardware is low-maintenance but not zero-maintenance. Dust and pet hair collect in the track and on the rollers, causing grinding and uneven sliding. Every month, wipe the track with a dry microfiber cloth or vacuum it with a brush attachment. Twice a year, apply a light coat of dry silicone spray to the track and the wheel axles. Do not use WD-40 or any oil-based lubricant—they attract dust and turn into a sticky paste. Check the lag bolts and hanger bolts for tightness every six months, especially if the door is used daily. A loose bolt allows the door to rock, which wears out the roller bearings and can pull the track off the wall. If the door starts to squeak, the rollers are dry or the track is dirty; clean first, then lubricate.
Is a barn door window covering cheaper than custom Roman shades? It depends on the door panel and hardware you choose. A basic DIY setup—an unfinished interior door slab from a home center, a budget track kit, and a floor guide—can cost between $300 and $500. Custom blackout Roman shades for a similar window often run $200 to $500 per shade, installed. So the two are roughly comparable on price, but the barn door requires more labor and tools. High-end hardware from Johnson Hardware or HAFELE, plus a custom solid wood door, can push the cost past $1,000, which is more than most premium Roman shades. If you’re outfitting a commercial space where durability matters, our guide to restaurant window shades covers options that stand up to constant use.
Frequently Asked Questions
Can I install a barn door window covering without drilling into the wall or ceiling?
No. The track must be securely anchored into studs or a header board to support the door’s weight safely. Adhesive mounts or tension rods cannot hold a sliding door. If you cannot drill, use a temporary window covering like a blackout Roman shade or a tension curtain rod inside the frame instead.
How do I stop light from leaking around the edges of a barn door window covering?
Make the door at least 2 inches wider than the casing on each side, add 2 inches of overlap below the sill, and install light-blocking weatherstripping on the back edges of the door. The weatherstripping compresses against the wall when the door closes, sealing the gap created by the hanger offset. For total blackout, back the door with a blackout liner or combine it with an inside-mounted shade.
Why does my barn door window covering look tilted even though the track is level?
The door panel itself may be out of square, or the hangers are not adjusted evenly. Measure the door diagonally—if the two diagonals differ by more than 1/8 inch, the panel is racked and needs to be reinforced or replaced. Adjust the hanger bolts so the door hangs parallel to the track, then re-tighten. Also check that the floor guide is not pulling the bottom of the door sideways.
