

Last spring I stood in a client’s living room in La Jolla, watching the afternoon sun pour through a bare window while a stack of unopened Roman shades leaned against the wall. She wanted the shades hung immediately. I told her we could do that, but if she ever planned to add window film, she’d regret not doing the glass layer first. That conversation is exactly why I’m writing this guide.
I’ve spent years working in window treatments, and the key distinction beginners miss is that window film and Roman shades aren’t competitors—they solve different problems at different layers of the window system. Film is a glass-level solution for solar gain and UV, while Roman shades are a room-side solution for light diffusion, privacy, and style. The practical trick is to sequence installation: film goes on clean glass first, let it cure, then hang shades with enough clearance to avoid touching the film. That workflow prevents adhesive failures and fabric abrasion.
Key Takeaways
- Window film and Roman shades target separate issues: glass-level heat and UV versus room-side light diffusion and privacy.
- Apply film to clean, dry glass before hanging shades, and leave at least 1/4 inch of airspace between the film and the shade fabric.
- Use low-absorption ceramic or dyed films on dual-pane windows to avoid thermal stress cracks; never use abrasive or ammonia-based cleaners on filmed glass.
Understanding How Window Film and Roman Shades Work Together
The easiest way to think about this pairing is to separate the problems each material solves. Window film lives on the glass itself. Roman shades live inside the room, a few inches away from that glass. They can absolutely coexist, but only if you respect that physical distance and the thermal dynamics between them.
The Glass-Level Problem: Solar Heat and UV
Sunlight hitting an untreated window does three things: it heats the room, it fades fabrics, and it creates glare. Window film addresses all three at the source. A quality solar control film can reject up to 78% of the sun’s heat and block up to 99% of ultraviolet rays, according to the U.S. Department of Energy’s window film guide. That is a glass-level intervention. The Roman shade never feels that heat because the film stops most of it before it travels three inches deeper into the room.
I’ve measured surface temperatures on the glass versus the shade fabric in San Diego afternoons. On a west-facing window with film, the glass may still feel warm, but the fabric reads close to room temperature. Without film, that same fabric can climb fifteen degrees higher. That temperature difference is the reason installation sequence matters so much.
The Room-Side Solution: Roman Shades for Light Diffusion and Style
Window film cannot soften light into a gentle glow. It can tint, reflect, or darken a room, but it cannot create the layered, fabric-filtered light that Roman shades produce. Shades also add insulation value, particularly when they are lined. A lined Roman shade creates a dead air pocket between the glass and the room, which slows heat transfer even further. But here is the catch: that air pocket can become a heat trap if the wrong film was installed first. The film absorbs solar energy; if the shade blocks the only escape path, that energy has nowhere to go except into the glass, the frame, and the adhesive layer of the film.
This is not a reason to avoid combining them. It is a reason to choose the right film and leave enough airspace. I recommend a minimum of 1/4 inch between the back of the Roman shade and the film surface. Most shade brackets naturally provide this, but if you use an inside mount with a shallow frame, you may need to adjust the bracket depth.
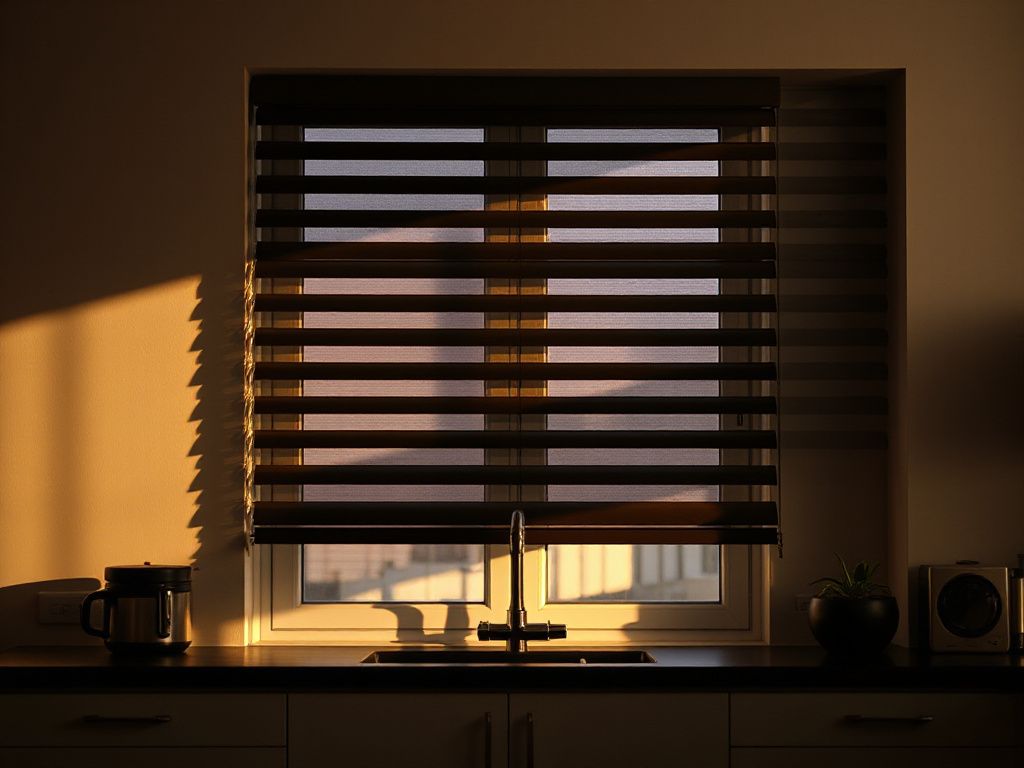
Can You Use Window Film With Roman Shades Without Ruining Either?
Yes, absolutely. The failures I see in the field come from two specific errors: installing film after shades are already up, and choosing a film that traps too much heat in the air gap. Both are preventable.
Installation Order Matters: Film First, Then Shades
Film requires clean, dry glass and a flat working surface. You need clear access to the entire pane, which means the Roman shade should not be hanging in your way. If the shade is already installed, you can still apply film, but you will fight the fabric the whole time, and any accidental contact with wet adhesive leaves marks. The correct order is simple: strip the window down to bare glass, clean it thoroughly, apply film, let it cure for three to seven days depending on humidity and film type, then mount the Roman shade. This sequence also protects the shade fabric from cleaning overspray or slip solution drips.
Once the film is cured, it is far less vulnerable to physical contact. You can then mount the shade normally. Just ensure the shade’s lift mechanism does not rub against the glass when operated. If you are unsure about how to properly operate newly installed shades, our guide on how to lower blinds without tangling cords covers the basics of smooth operation.
Choosing the Right Film for Shaded Windows
For windows that will have Roman shades, avoid highly reflective metalized films. They reflect more solar energy back at the glass, which can raise the temperature inside the air gap. That heat has to go somewhere, and on dual-pane windows it can exceed the thermal stress limit of the glass. The National Fenestration Rating Council provides ratings for solar heat gain coefficient and U-factor. Look for a film with a solar heat gain coefficient below 0.40 and visible light transmittance above 60% if you want the room to still feel bright with the shades open.
Ceramic and dyed polyester films are the safest options for this combination. Ceramic films reject heat through absorption and dispersion without a metallic layer, so they do not create the same glass stress risk. Dyed films are cheaper but will fade over time, especially on south-facing windows. Both are widely available from manufacturers like 3M and LLumar. The polyester film base is the same material used in many Roman shade liners, so there is no chemical incompatibility.
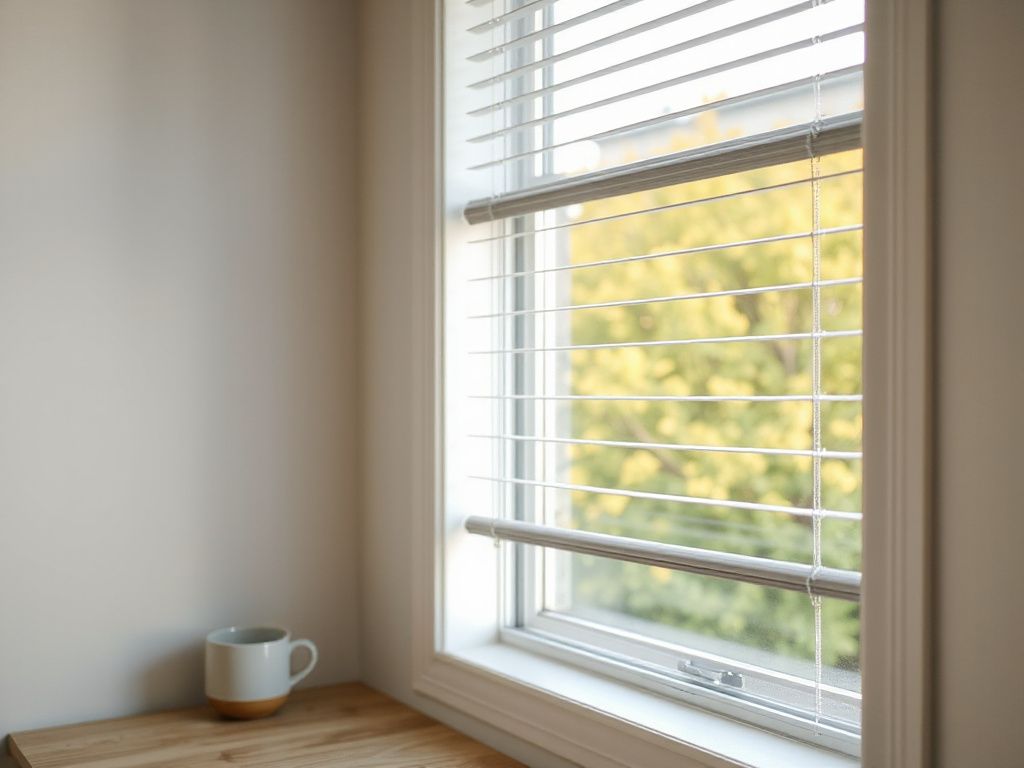
Common Problems When Combining Window Film and Roman Shades
Heat Buildup and Adhesive Softening
Window film adhesive is pressure-sensitive and designed for temperatures up to about 140°F at the glass surface. In a closed air gap with a dark shade and a heat-absorbing film, that temperature can approach 160°F on a summer afternoon. The adhesive softens, the film slides, and bubbles form. This is why I tell clients to choose a film with low solar absorption for shaded windows. You can test the air gap temperature yourself with an infrared thermometer on a hot day. If the glass reads over 130°F behind the shade, the film is absorbing too much energy.
Thermal Stress on Dual-Pane Windows
Dual-pane windows with a low-E coating on the interior pane are particularly sensitive to reflected heat. When a metalized film bounces energy back toward the glass, the inner pane heats unevenly. The glass expands, and the stress can crack it. This is not a theoretical risk—it is documented in manufacturer guidelines from major film suppliers. Before applying any reflective film to a low-E window, check the film manufacturer’s technical bulletins and confirm your window’s glass type. A simple phone call to the window maker can save you a broken pane and a voided warranty.
Cleaning Without Scratching
Filmed glass cannot tolerate abrasives, razor blades, or ammonia-based cleaners. Ammonia attacks the film’s scratch-resistant coating and can cause discoloration. Use a soft microfiber cloth, warm water, and a mild dish soap. For dried mineral spots, a solution of one part white vinegar to three parts water is safe, but rinse thoroughly. The Roman shade itself should be vacuumed with a soft brush attachment rather than wiped. If you must spot-clean the fabric, use a dry cleaning sponge and work away from the window to avoid splashing cleaning solution onto the film.
One trick I use: place a drop cloth over the shade when cleaning the glass above it. Gravity carries drips downward, and a wet Roman shade against a newly filmed window is a fast way to ruin both. If your shades are top-down, you can also compare options like top-down blackout blinds for even less glass contact.
Cost and Practical Considerations for Adding Film to Windows With Roman Shades
Cost depends on whether you hire a pro or do it yourself. Professional installation typically runs $6 to $14 per square foot, including film. DIY kits run $2 to $8 per square foot, but you need patience, a sharp utility knife, and a squeegee. Most windows in a bedroom or living room are 15 to 25 square feet, so a single window falls between $30 and $350 depending on route. The Roman shade itself costs $50 to $400 per window depending on fabric, lining, and size.
Do you need to remove the Roman shade to install film? Not always, but it is much easier. If the shade mounting brackets allow you to lift the shade off the brackets, do that first. If the shade is hardwired into a valance, you can work around it by slipping film behind the fabric, but you will likely trap dust and water spots against the glass. For a clean result, removal is the right call. The installation itself takes about 30 minutes per window for the film plus 24 to 72 hours of cure time before you re-hang the shade.
Step-by-Step: Applying Window Film Before Hanging Roman Shades
Step 1: Clean the Glass Properly
Spray the glass with a solution of one teaspoon of baby shampoo per quart of water. Scrape any paint or debris with a plastic razor blade—never metal. Wipe with a lint-free cloth. The glass must be completely free of dust, because any speck becomes a permanent bump under the film.
Step 2: Cut and Apply the Film
Measure the pane and cut the film 1/2 inch larger than needed on all sides. Spray the glass generously with slip solution. Peel the film liner and spray the adhesive side as you expose it. Lay the film on the wet glass, position it, then squeegee outward from the center in firm strokes.
Step 3: Let the Film Cure
Do not touch the film or hang the shade for at least three days in dry conditions, longer in humid climates. Moisture trapped under the film evaporates during curing, and bubbles that appear small will usually disappear. If bubbles remain after a week, they are likely air pockets that need a needle puncture and re-squeegee.
Step 4: Mount the Roman Shade with Clearance
Re-hang the shade using its existing brackets, but check the clearance. The fabric stack at the top of the shade should not press against the film. If it does, add small spacers behind the brackets. A 1/4 inch gap is sufficient. Then test the shade’s lift and lower function. If the fabric drags on the glass, the film will eventually show wear marks in that track. Adjust until the shade moves freely.
Frequently Asked Questions
Will window film stop my Roman shades from fading?
Yes, largely. Window film blocks up to 99% of UV rays, which are the primary cause of fabric fading. The remaining visible light can still cause gradual color shift over years, but the difference is dramatic. A shade behind quality window film will fade five to ten times slower than one behind bare glass.
Do I need to take down my Roman shades to put on window film?
Not strictly, but I recommend it. You need clean, unobstructed access to the glass. If the shade is removed, you can clean, apply, and squeegee the film without fighting fabric. If removal is impossible, cover the shade with a plastic drop cloth and work carefully above it.
What is the difference between window film and blackout Roman shades for privacy and light control?
Window film reduces visibility from outside during the day and blocks UV and heat 24/7. Blackout Roman shades block all light but only when closed. They serve different needs: film for daytime glare and solar control, shades for nighttime privacy and total darkness. Many San Diego homes I visit use both, especially in bedrooms, and you can compare window shades in Brooklyn for similar urban light-control approaches.
