

You’ve been scrolling through photos of perfect vegetable gardens, and every time you think, “I could do that” — but then you hit the wall of vague instructions and conflicting advice. One site tells you to use cedar, another says pressure-treated pine is fine. Someone swears by 12-inch depth, while another insists on 24 inches. It’s enough to make you close the browser tab and go back to buying sad supermarket tomatoes.
The truth is, most raised garden bed plans you find online skip the practical details that actually matter once the wood is cut and the screws are in. This guide is different. I’m Ryan Thompson, and as someone who has tested more planter configurations than I care to count, I’m going to walk you through the exact decisions you need to make — and the ones you can ignore — so you build a bed that works for your space, your back, and your plants.
Key Takeaways
- Focus on bed depth based on what you’re growing: 12 inches for shallow-root crops, 18-24 inches for deep-root vegetables like tomatoes and carrots.
- Choose untreated cedar or black locust for longevity without chemical concerns; avoid pressure-treated lumber made before 2004.
- Position your bed for at least 6-8 hours of direct sunlight daily, and orient it north-south for even light distribution.
Why Most Raised Garden Bed Plans Miss the Mark
The internet is littered with plans that look great in a rendering but fall apart in the real world. A common failure point is ignoring the site’s unique conditions. A plan that works in a flat, sunny backyard will rot in a shady, damp corner or warp under intense desert sun. Another frequent oversight is treating all lumber as equal. I’ve seen beds built from standard pine that looked fine in spring but were spongy by fall.
When you’re evaluating raised garden bed plans, you need to look past the pretty pictures and ask three questions: How long will this last? How hard will it be to fill? How easy will it be to reach the center? If a plan doesn’t address these, it’s incomplete. Your time and money are too valuable for that.
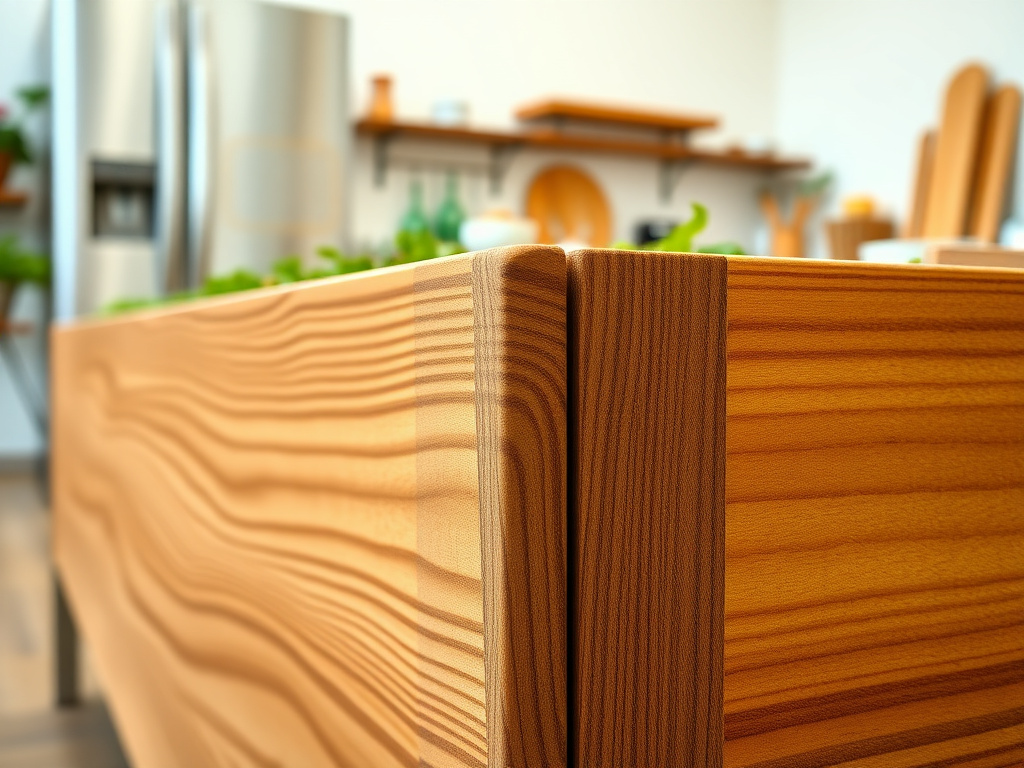
Choosing the Right Materials for Your Raised Bed
The material you choose determines your bed’s lifespan, cost, and whether you’ll be replacing boards in two years or twenty. Here is how the common options stack up.
Cedar: The Gold Standard
Western red cedar contains natural oils that resist rot and insects. A well-built cedar bed will last 10-15 years without any treatment. The downside is cost — cedar is not cheap. But if you plan to build once and not think about it again, cedar is the right choice. Look for boards that are at least 1.5 inches thick; thinner stock warps quickly.
Black Locust: The Underdog
Black locust is harder and more rot-resistant than cedar, with a lifespan of 20 years or more. It is also denser, which makes it heavier and harder to work with. You will need to pre-drill holes to avoid splitting. If you can source it locally, black locust is an excellent, long-lasting option that often costs less than cedar.
Pressure-Treated Lumber: The Controversial Choice
Modern pressure-treated lumber (made after 2004) uses copper-based preservatives that are considered safe for vegetable gardens by most agricultural extension services. The risk is minimal, but if you are concerned, line the inside of the bed with heavy-duty landscape fabric. Avoid using railroad ties or old treated lumber, which may contain creosote or other banned chemicals.
Composite and Recycled Plastics
Composite boards (a mix of wood fibers and plastic) and recycled plastic lumber never rot and require zero maintenance. They do not splinter, and they hold up to extreme weather. The trade-off is that they can get hot in direct sun, which may stress plant roots in very hot climates. They also lack the natural look of wood. For a set-and-forget bed, composites work well.
Determining the Right Dimensions for Your Space
Size matters more than you think. A bed that is too wide becomes impossible to weed without stepping into it, which compacts the soil. A bed that is too narrow wastes space and dries out faster. Here are the dimensions that actually work.
Width: The 4-Foot Rule
Keep your bed no wider than 4 feet if you plan to access it from both sides. This allows you to reach the center without stretching or stepping on the soil. If your bed will be against a wall or fence, limit the width to 2 feet. For a freestanding bed you will access from one side only, 3 feet is the maximum comfortable reach.
Length: Whatever Fits Your Space
Length is flexible. An 8-foot bed is a standard size that uses lumber efficiently (two 8-foot boards cut in half for the sides). You can go longer, but consider that a bed over 12 feet may sag in the middle. Add a center support brace for beds longer than 10 feet.
Depth: Match It to Your Crops
Depth is where most plans go wrong. Shallow beds (6-8 inches) are fine for lettuce, spinach, and herbs. For tomatoes, peppers, carrots, and potatoes, you need at least 12 inches. If you want to grow root vegetables like parsnips or sunchokes, go with 18-24 inches. Deeper beds also warm up faster in spring and retain moisture better in summer.
Step-by-Step Construction of Your Raised Bed
Once you have your materials and dimensions, the actual building is straightforward. These steps assume a basic rectangular bed with corner supports.
Step 1: Prepare the Site
Clear the area of grass and weeds. You do not need to dig deep — just remove the sod. Level the ground as much as possible. If the site is on a slope, you will need to terrace or cut into the hillside. For a flat site, a slight grade (1-2 inches over 8 feet) is fine and will not affect the bed.
Step 2: Cut the Lumber
Cut your side boards to length. For a standard 4×8 bed, you need two 8-foot boards for the long sides and two 4-foot boards for the short sides. If you are using corner posts, cut those to the height of the bed plus 6-8 inches to anchor into the ground. For a 12-inch deep bed, cut corner posts to 18-20 inches.
Step 3: Assemble the Frame
Lay out your boards on a flat surface. Attach the side boards to the corner posts using two screws per joint. Pre-drill to avoid splitting the wood, especially near the ends. For a bed without corner posts, use metal corner brackets or lap joints. Make sure the frame is square by measuring diagonally — both diagonals should be equal.
Step 4: Position and Level
Move the assembled frame to its final location. Check that it is level in both directions. If the ground is uneven, dig out high spots rather than filling low spots — soil will settle and the frame will adjust over time. Once level, secure the corner posts by driving them into the ground or anchoring with rebar stakes.
Step 5: Add a Bottom Layer (Optional)
If your bed sits on grass or weeds, lay down a layer of cardboard or several sheets of newspaper on the bottom. This smothers existing vegetation and will decompose over time. Do not use landscape fabric on the bottom — it blocks drainage and creates a barrier for worms. The cardboard is temporary and will break down within a season.
Step 6: Fill the Bed
Fill your bed with a mix of topsoil, compost, and aeration amendments. A good starting ratio is 60% topsoil, 30% compost, and 10% perlite or pumice. Avoid using garden soil from your yard — it is too dense and may contain weed seeds. If you are filling a deep bed (18 inches or more), put coarse material like logs or branches in the bottom third to save on soil costs and improve drainage. This is called hugelkultur and it works well.
If you are looking for the right tools to assemble your bed efficiently, our adjustable bed frame guide covers some of the same principles of leveling and support that apply to garden beds as well.
Soil Strategy: What to Put in Your Bed
The soil mix you use determines 80% of your success. A good mix holds moisture, drains well, and provides nutrients. Here is a breakdown of what each component does.
Topsoil: The Base
Buy screened topsoil from a landscape supply yard. Avoid bagged “garden soil” from big box stores — it is often mostly bark fines and peat moss, which decompose quickly and leave your bed sinking. Screened topsoil has a consistent texture and contains mineral particles that provide structure.
Compost: The Nutrient Source
Compost adds organic matter and microorganisms. Use well-aged compost (dark, crumbly, earthy smell). Fresh compost can burn roots. You can make your own or buy it in bulk. A ratio of 1 part compost to 3 parts topsoil is a solid starting point.
Aeration Amendments: The Drainage Helpers
Perlite, pumice, or coarse sand improve drainage and prevent soil compaction. In heavy clay areas, add 10-20% by volume. In sandy areas, you can skip this and increase compost instead. Vermiculite also works but retains more moisture — use it if you live in a dry climate.
Positioning Your Bed for Maximum Sunlight
Sunlight is non-negotiable. Most vegetables need at least 6-8 hours of direct sun per day. Observe your yard over a full day before committing to a location. Mark where shadows fall from trees, fences, and buildings. A spot that gets morning sun and afternoon shade is fine for leafy greens but will not produce good tomatoes or peppers.
Orientation matters too. A north-south orientation ensures that both sides of the bed get equal sun throughout the day. An east-west orientation means the south side gets more light, which can be useful if you plan to plant tall crops on the north side and shorter ones on the south.
If you are reading this while tucked in bed, consider how the same principles of positioning apply to your indoor reading setup. Our best book light for reading in bed at night guide explains how to get the right light angle for comfort.
Frequently Asked Questions
What is the best wood for a raised garden bed?
Cedar is the most popular choice because it naturally resists rot and insects without chemical treatment. It lasts 10-15 years. Black locust is even more durable but harder to find and work with. Avoid using pallet wood unless you know its source, as some pallets are treated with chemicals that are not safe for food crops.
How deep should a raised garden bed be for vegetables?
For most vegetables, 12 inches is the minimum depth. Tomatoes, peppers, and carrots benefit from 18-24 inches. Shallow-root crops like lettuce and herbs can grow in 6-8 inches. If you are mixing crops, go with 12 inches as a versatile compromise.
Do I need to put anything under my raised garden bed?
Yes. Lay down cardboard or several layers of newspaper to smother grass and weeds. This layer will decompose over time and does not block drainage. Do not use landscape fabric or plastic sheeting, as these create a barrier that prevents water from draining and earthworms from entering the bed.
Can I build a raised garden bed on concrete or a patio?
Yes, but you need to ensure drainage. Elevate the bed slightly on bricks or pavers so water can escape. Use a deeper bed (at least 12 inches) to provide enough soil volume for roots. You may also need to water more frequently because the concrete will not retain moisture like soil does. A self-watering insert can help.
If you are building on a hard surface, the same principles of leveling and support apply as when setting up a bed frame. Our queen size platform bed frame guide goes into detail on ensuring a stable, level foundation.
