

Only about 10% of the electricity an incandescent bulb draws actually becomes visible light—the other 90% is wasted as heat. That staggering inefficiency is why LED technology took over so quickly, and why fixtures like 6-inch LED ceiling lights are now the default choice for new construction and remodels alike.
I’ve spent years in lighting design and installation, and the first thing I look at with six-inch LED ceiling lights is the beam angle relative to ceiling height and room layout. A beginner often picks a high lumen count and ignores how light actually spreads, ending up with glare or dark spots. I also check the compatibility between the LED driver and the dimmer switch—that’s the #1 source of flicker complaints. Getting these fundamentals right makes the difference between a comfortable, even-lit space and a headache.
If you’re comparing specific models, our roundup of the best LED ceiling lights for 2026 breaks down the top-rated options.
Key Takeaways
- Beam angle and spacing matter more than raw lumen output for even illumination.
- IC-rated housings are mandatory if ceiling insulation will touch the fixture.
- Most dimmer flicker issues trace back to a driver-dimmer mismatch, not the bulb.
- Wet or damp locations require fixtures with the appropriate UL rating, not just any LED.
Understanding the Basics of 6-Inch LED Ceiling Lights
What Exactly Is a 6-Inch LED Ceiling Light?
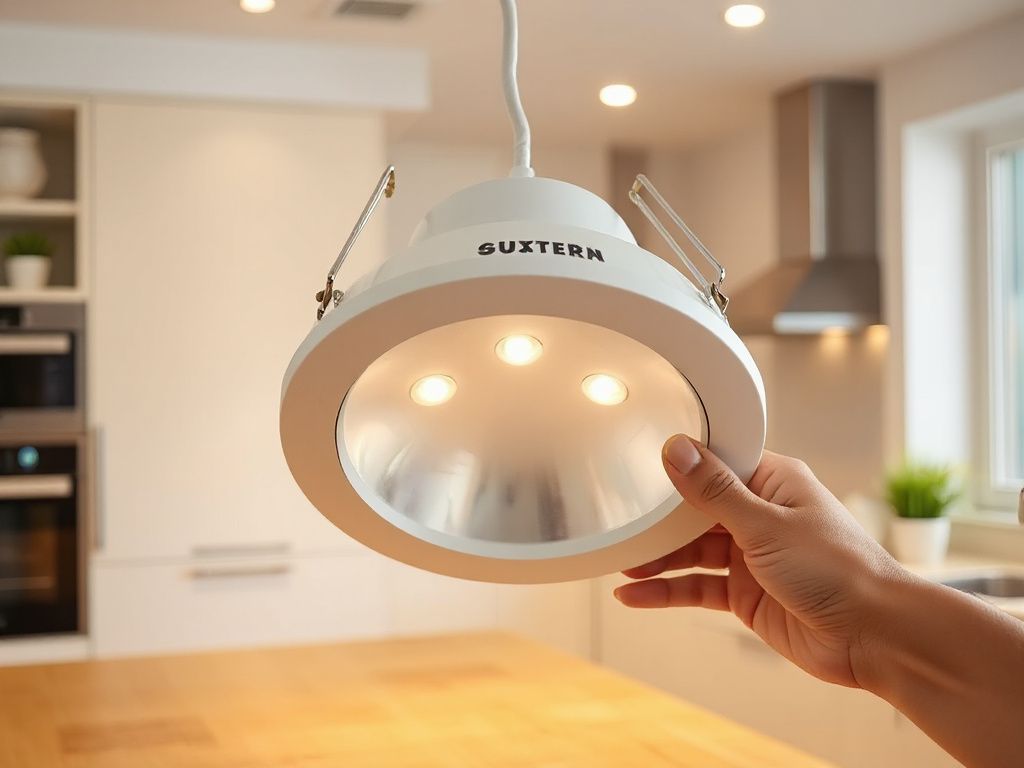
The ‘6-inch’ label refers to the diameter of the recessed housing opening, not the size of the light beam or the bulb itself. A 6-inch recessed light fixture has a housing with a six-inch opening, and it’s the most common size for general room illumination. These fixtures can be either integrated LED (where the LED array is built into the trim and cannot be replaced separately) or retrofit kits that fit into older housings.
Integrated models are typically more energy efficient and longer lasting because the driver and heat sink are engineered as a single unit. Retrofit kits, on the other hand, let you keep the existing can housing and simply swap the trim and bulb, which is a huge advantage if you’re upgrading an older home.
Color Temperature: Warm, Cool, and Everything Between
Color temperature is measured in Kelvin (K), and it dictates whether the light feels cozy or clinical. For living rooms and bedrooms, 2700K to 3000K mimics the warmth of incandescent bulbs. Kitchens and bathrooms benefit from 3000K to 4000K, which reads as neutral and helps with tasks. Anywhere you need focused attention—a workshop, garage, or home office—4000K to 5000K is ideal.
The ENERGY STAR program recommends choosing color temperature based on room function, and it’s a reliable reference when you’re stuck between two options. Also check the CRI (Color Rendering Index): a CRI of 90 or above shows colors more accurately, which matters in bathrooms and kitchens. Cree, Philips, and GE all produce high-CRI LED chips, but the fixture manufacturer’s driver quality is what determines long-term performance.
The Difference Between IC-Rated and Non-IC-Rated Housings
IC stands for Insulation Contact. An IC-rated housing is tested and listed to be in direct contact with thermal insulation, which is non-negotiable for any ceiling with blown-in or batt insulation. Non-IC rated fixtures require a minimum clearance of 3 inches from insulation on all sides, and that clearance can be hard to achieve in an attic or tight ceiling cavity.
When you see ‘UL 1598’ on a fixture, that’s the safety standard for luminaires. The IC rating is an additional designation that tells the installer whether the housing can safely touch insulation. Ignoring this is a fire hazard, plain and simple.
Choosing the Right Fixture for Your Space
Spacing and Beam Angle: Getting Even Illumination
The beam angle of a 6-inch LED downlight determines how wide the pool of light is at floor level. Narrow beam angles (around 30-45 degrees) create focused spots, which you’d use over a kitchen island or a piece of art. Wide beam angles (90-120 degrees) spread light broadly for ambient illumination. The critical relationship is between beam angle, ceiling height, and the spacing between fixtures.
For an 8-foot ceiling, spacing six-inch LED recessed lights 4 to 5 feet apart generally produces even illumination without dark corners. If you use a narrow beam and space them too far apart, you’ll get pools of light and shadows between them. That’s the single most common mistake I see in DIY installs.
How Many Lights Do You Actually Need?
A good starting point is 20 to 30 lumens per square foot for ambient lighting in a living space. A 15-foot by 20-foot living room is 300 square feet, so you’re looking at 6,000 to 9,000 total lumens. If each six-inch LED ceiling light puts out about 1,000 lumens, that’s six to nine fixtures. Adjust based on the room’s other light sources and how bright you like it.
Here’s a simpler rule of thumb: divide the ceiling height by 2 to get ideal spacing. For an 8-foot ceiling, space lights about 4 feet apart. For a 10-foot ceiling, go to 5 feet. This assumes a standard 90-degree beam angle.
Dimming Compatibility: Why Flickering Happens
Not all LED ceiling lights are dimmable, and even among dimmable models, not all work with every dimmer switch. The dimmer and the LED driver have to speak the same electronic language. If you pair a non-dimmable LED with a dimmer, or use an older incandescent dimmer with a modern LED, you’ll get flickering, buzzing, or a light that never reaches full brightness.
Flickering in LED ceiling lights is almost always caused by a mismatch between the dimmer switch and the LED driver. The fix is to check the fixture’s specification sheet for a list of compatible dimmers, or use a universal LED dimmer from a brand like Lutron. Lutron’s compatibility tool is a lifesaver for this.
Installation, Safety, and Maintenance
Can You Install Them Yourself?
If you’re replacing an existing recessed can with a retrofit LED kit, yes, you can do it yourself. These kits typically screw into the old socket and clip onto the housing, taking less than 15 minutes per fixture with the power off. However, if you need to cut new holes, run wiring, or install a new circuit, that’s a job for a licensed electrician. Electrical work must comply with local codes, and a permit may be required.
Always turn off the breaker and use a non-contact voltage tester before touching any wiring. If you’re not comfortable with that, hire a pro. The cost of an electrician is far less than the cost of a fire or an electrical inspection failure. For commercial or high-abuse settings, Hubbell manufactures housings that meet UL 1598 and are built to last, but they’re overkill for most homes.
Wet and Damp Location Ratings: Kitchens and Bathrooms
A 6-inch LED ceiling light installed inside a shower enclosure must carry a wet-location rating, which means it is sealed against water spray and often meets IP44 or higher standards. For general bathroom ceilings and areas above kitchen sinks, a damp-location rating is usually sufficient. Check the fixture’s label or spec sheet for ‘UL Listed for Wet Locations’ or ‘UL Listed for Damp Locations.’
Using a dry-rated fixture in a shower is not just a code violation; it’s a shock hazard. Water and electricity don’t mix, and the corrosion will eventually damage the driver.
Cleaning and Maintaining Recessed Lights
LED fixtures need almost no maintenance, but dust accumulation can reduce light output and cause the heat sink to run hotter. Dust buildup on the heat sink of an LED fixture can raise operating temperature and shorten its lifespan, so wipe the housing and trim with a dry cloth at least once a year. If the trim is removable, take it off and gently vacuum the interior with a brush attachment.
Never spray cleaner directly onto the fixture, and never use water. A dry microfiber cloth is all you need. For stubborn smudges on the lens, a slightly damp cloth followed by a dry buff works, but make sure the fixture is powered off and cool.
Lifespan and What Causes Early Failure
The average 6-inch LED ceiling light is rated for 50,000 hours of use, equivalent to about 17 years if left on 8 hours a day, but poor heat dissipation or incompatible dimmers can cut that lifespan dramatically. Heat is the enemy of LED drivers; if the fixture is installed in an airtight housing with no ventilation, or if insulation is packed around it (even IC-rated), the driver can overheat and fail early.
Voltage spikes from power surges can also kill LEDs. If your home has frequent brownouts or lightning storms, consider a whole-house surge protector or at least a surge suppressor on the lighting circuit.
Cost, Energy Savings, and Smart Control Options
LED vs. Incandescent: The Real Cost Difference
A typical 6-inch incandescent recessed light uses 65 to 75 watts, while an equivalent LED uses 10 to 15 watts. Running a single 6-inch LED ceiling light for 4 hours a day costs about $1 to $2 per year in electricity, while an incandescent equivalent would cost $8 to $12, depending on local rates. Multiply that by 10 or 15 fixtures and the savings add up fast.
LEDs also generate far less heat, which reduces air conditioning load in summer. That’s an often-overlooked benefit in warm climates.
Smart Home Integration and Rebates
Many 6-inch LED ceiling lights can be controlled by smart switches or smart bulbs that work with Alexa, Google Home, or Apple HomeKit. If you prefer a clean look, a smart switch controls the entire circuit without changing the fixture appearance. Just be aware that some smart bulbs consume a small amount of standby power even when off, so check the spec if you’re energy-conscious.
Utility rebates for ENERGY STAR and DLC-listed LED fixtures can reduce the upfront cost. California’s Title 24 energy code effectively requires new residential lighting to be high-efficacy LED, which is why 6-inch LED ceiling lights are now standard in West Coast construction. If you’re also upgrading outdoor fixtures, our exterior ceiling lights roundup covers weather-rated options.
Frequently Asked Questions
How do I choose the right color temperature for 6-inch LED ceiling lights?
For living rooms and bedrooms, choose 2700K to 3000K for a warm, inviting feel. Kitchens, bathrooms, and laundry rooms work best with 3000K to 4000K, which is neutral and bright enough for tasks. Garages, workshops, and home offices benefit from 4000K to 5000K daylight tones. Always check the fixture’s CRI: 90 or above renders colors accurately, something you’ll appreciate when applying makeup or checking food doneness.
Are 6-inch LED ceiling lights compatible with older dimmer switches?
Not always. Older dimmers designed for incandescent bulbs often use leading-edge (TRIAC) phase control that many LED drivers can’t interpret correctly, causing flicker or a limited dimming range. Before buying, check the fixture’s compatibility list. If you already own the lights and they flicker, replace the dimmer with a modern LED-compatible model from Lutron or another reputable brand. The problem is almost never the bulb itself.
Can I install a 6-inch LED ceiling light in my bathroom shower?
Only if the fixture is rated for wet locations. Look for ‘UL Listed for Wet Locations’ or an IP44 or higher rating on the spec sheet. A standard dry-rated fixture will corrode and pose a shock hazard. For general bathroom ceilings outside the shower, a damp-rated fixture is acceptable, but never use a dry-rated one directly above a tub or shower enclosure.
How many 6-inch LED ceiling lights do I need for a 20×20 foot room?
A 20×20 room is 400 square feet. Using the guideline of 20 to 30 lumens per square foot, you need 8,000 to 12,000 total lumens. If each six-inch LED fixture produces 1,000 lumens, that’s eight to twelve fixtures. Space them about 4 to 5 feet apart on an 8-foot ceiling, and use a wide beam angle (90 degrees or more) to avoid dark spots. If you prefer a linear look, our ceiling strip lights guide covers another option.
What does IC-rated mean on a 6-inch LED ceiling light?
IC stands for Insulation Contact. An IC-rated housing has been tested and certified to be in direct contact with thermal insulation without creating a fire hazard. If your ceiling has blown-in or batt insulation, you must use IC-rated fixtures. Non-IC rated fixtures require 3 inches of clearance from insulation, which can be difficult to achieve and risky if ignored.
