

Most people assume a two-light chandelier is nothing more than a compact version of a grand, multi-tier fixture. That assumption is precisely why I spend so many service calls in San Diego fixing fixtures that wobble, hang too low, or flicker every time someone dims the lights. The reality is a 2-light chandelier has its own engineering quirks. The weight distribution is entirely different from a larger chandelier, and the wiring often runs through a slender chain that can be maddeningly difficult to rewire if you don’t plan ahead. Every time I walk into a home where someone has swapped one in as an easy upgrade, I check the canopy first. Too often it’s not sitting flush against the ceiling. That gap tells me the junction box wasn’t rated for the load, or the installer didn’t account for the mounting tension. No amount of styling salvages a chandelier that hangs at the wrong height or threatens to pull free from the drywall. I always start by measuring the room’s height, then the fixture’s overall drop, because those two numbers dictate everything else.
Key Takeaways
- A 2-light chandelier demands a ceiling junction box rated for its weight—many standard boxes aren’t, and a collapse can put the fixture and your wiring at risk.
- The canopy must sit absolutely flush against the ceiling; even a small gap signals improper mounting that can loosen over time.
- Choose your bulb type and dimmer as a matched pair: candelabra-base LEDs often flicker if the dimmer isn’t designed for low-wattage loads.
- Placement height is non-negotiable—measure from the floor up, not from the ceiling down, to avoid a chandelier that crowds the room.
What Sets a 2-Light Chandelier Apart from Other Ceiling Fixtures
A 2-light chandelier occupies a middle ground that many homeowners misinterpret. It’s not a scaled-down version of a six-arm fixture, nor is it simply a pendant light with an extra bulb. The distinction matters because the wrong assumption leads to placement mistakes and wiring complications that are entirely avoidable.
The Structural Difference Between a Chandelier and a Pendant
Chandeliers distribute their bulbs across multiple arms or a central body, while pendant lights typically house a single socket inside a shade. The two-light configuration splits the difference. It uses two separate sockets—often candelabra E12 bases—mounted on short arms or on a linear bar. That spread changes how the light falls and how the fixture balances on its mounting hardware. A single pendant hangs from a central cord; a two-light chandelier relies on a canopy and collar nut system that must bear the weight of two lamp holders plus any glass or metal framing. The canopy and collar nut assembly matters far more here than on a simple pendant because the load is distributed, not suspended straight down a single chain line.
From a design perspective, a 2-light fixture often mimics larger chandelier silhouettes—scaled-down candelabra styles, mini linear chandeliers for kitchen islands, or vintage-inspired schoolhouse designs. Brands like Progress Lighting have long produced compact two-light models that echo their larger counterparts, but the electrical infrastructure behind them remains unique. A jewelry chandelier with its ornate crystal strands, for instance, may use a dozen arms, while a two-light version concentrates that same elegance into a smaller footprint. The difference is not just size; it’s the entire approach to weight distribution and illumination.
Common 2-Light Chandelier Configurations
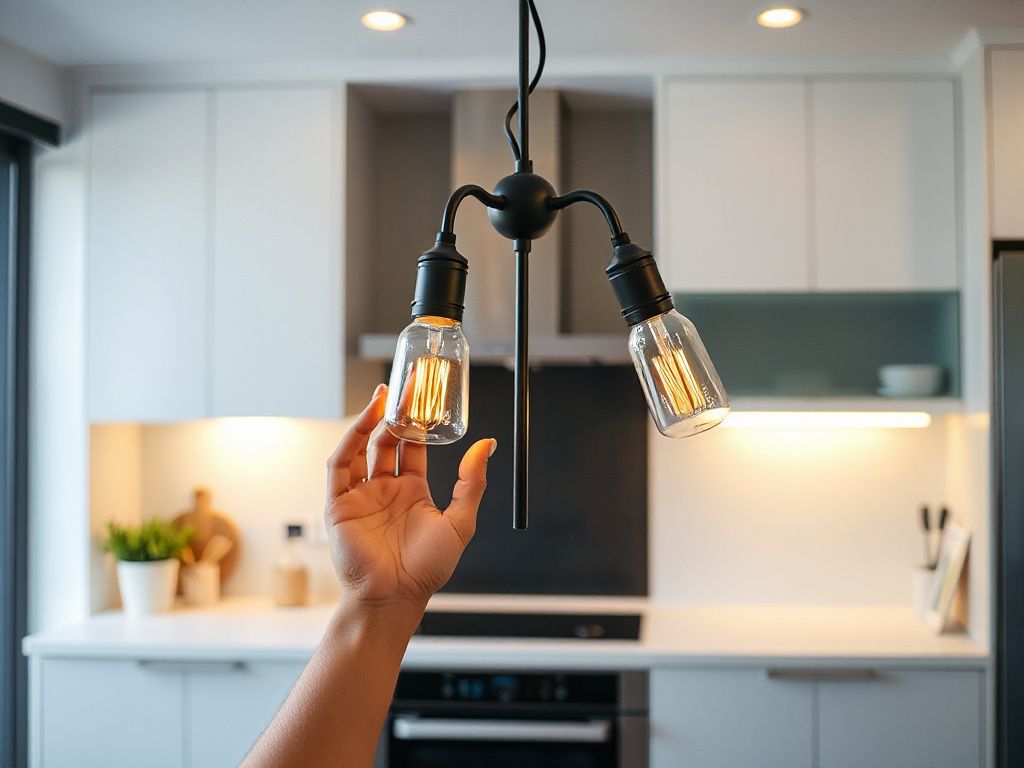
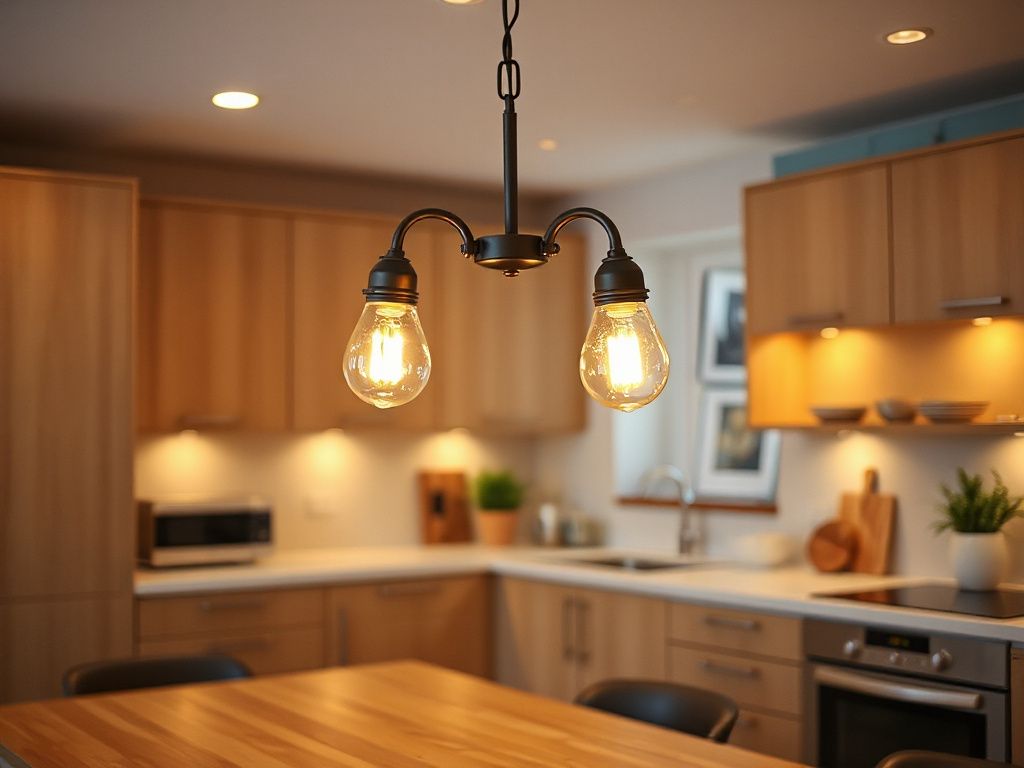
These fixtures come in two primary arrangements: a bilateral arm setup where two bulbs extend to opposite sides, and a linear design where both sockets sit along a single bar. The linear style, sometimes called a ring chandelier when it forms a circle, works especially well over rectangular dining tables or kitchen islands. Bilateral arms suit entryways and small living rooms. Each configuration affects how the fixture mounts and how its weight bears on the ceiling box.
Sizing and Placement: Getting the Height and Scale Right
Every two weeks, someone calls me because their new chandelier looks enormous over a breakfast nook or laughably tiny in a two-story foyer. The scale problem isn’t about taste—it’s about missing the two numbers that actually control the outcome.
Room Dimensions and Fixture Diameter
An established rule of thumb from interior lighting guidelines: add the room’s length and width in feet, then convert the sum to inches. That number gives you the minimum chandelier diameter. For a 10-by-12-foot dining room, the ideal width is about 22 inches—right in the sweet spot for many two-light chandeliers. This rule accounts for visual proportion, ensuring the fixture doesn’t float insignificantly in a large space or dominate a small one. Adjust downward by 10 to 15 percent if the chandelier sits low over a dining table, because the perceived width increases as you approach eye level.
Determining the Correct Hanging Height
I never measure from the ceiling down. That’s where most people go wrong. Instead, measure from the floor up. In spaces where people walk beneath the fixture—hallways, entryways, open areas—the bottom of the chandelier should clear 7 feet from the floor. Over a dining table, drop it to 30 to 36 inches above the tabletop. A 30-inch height works for 8-foot ceilings; with taller ceilings, add 3 inches for every extra foot of ceiling height beyond 8 feet. The bottom of a 2-light chandelier over a dining table should sit between 30 and 36 inches above the table’s surface, a range that keeps light close enough to the food but far enough from your guests’ eyeline. This measurement supersedes any guesswork, and it’s one of the first things I correct on service calls.
Accommodating Sloped Ceilings
Not every two-light chandelier canopy is designed for a vaulted or sloped ceiling. Look for a fixture that explicitly includes or accepts a sloped ceiling adapter. The adapter tilts the canopy so it sits flush against the angled surface, preventing a dangerous gap that exposes wiring and destabilizes the mounting bracket. If the adapter isn’t included, some manufacturers sell it separately—check the canopy style before purchase. Cathedral-style sloped ceiling kits work for angles up to 45 degrees, but confirm compatibility with the specific canopy diameter. A canopy that doesn’t sit flush on a slope will stress the chain and collar nut, eventually loosening the entire assembly.
Installation and Electrical Requirements: Beyond the Simple Swap
Changing out a light fixture seems straightforward—remove the old one, match the wires, attach the new one. A two-light chandelier complicates that script in three critical ways that even experienced DIYers miss.
Junction Box Weight Ratings and NEC Compliance
The National Electrical Code (NEC) Article 410 governs luminaire installation, and it explicitly requires that ceiling outlet boxes be suitable for the fixture’s weight. Many older plastic boxes are only rated for 6 pounds or less. A two-light chandelier, with its metal arms, glass shades, and chain, often exceeds 10 pounds. Installing it on an under-rated box violates code and creates a persistent fall risk. I always check the box’s stamped rating before joining a single wire. If the stamp is missing, I replace the box with an IC-rated ceiling box or a fan-rated box, which supports loads up to 35 pounds. This step alone prevents the canopy separation I see on failed installs. For official guidance, the NEC Article 410 details all luminaire support requirements.
Wiring Through the Chain and Safety Protocols
When the fixture uses a chain to suspend the chandelier, the wiring usually threads up through the links. That slender chain path is the defining challenge of a two-light chandelier rewire. The wires must be fed carefully to avoid nicks in the insulation, and the connections inside the canopy need adequate space—overstuffing leads to wire nuts loosening from heat expansion. Before touching any existing fixture, I cut power at the breaker, not just the wall switch. Then I use a non-contact voltage tester to confirm the wires are dead. Trusting the switch alone has caused too many close calls. This sequence—breaker off, voltage tester on, wires verified—is non-negotiable. It’s also why I always keep a UL 1598-rated fixture in mind; that standard covers luminaire safety and ensures the construction meets fire and electrical safety tests. UL’s database details the UL 1598 standard for luminaires.
Fixtures for Damp and Outdoor Locations
A two-light chandelier isn’t automatically suitable for a bathroom, covered patio, or any area with moisture exposure. Fixtures carry a label—damp-rated for indoor spaces like bathrooms; wet-rated for areas exposed to direct rain. Installing a dry-location chandelier in a moist environment accelerates corrosion, degrades wiring, and creates a shock hazard. Look for ETL or UL listings that confirm damp or wet suitability. The ETL listing mark indicates testing to the same safety standard. In a San Diego outdoor kitchen, I once replaced a rusty two-light chandelier that had been installed incorrectly under a covered pergola—the fixture was rated for dry indoor use only, and the socket housings had corroded through within a year. Now, I always read the label before mounting.
Bulb Selection, Dimming, and Light Quality
The bulbs you choose for a two-light chandelier define more than brightness—they determine whether the fixture hums, flickers, or dims to a warm glow. With only two bulbs, each one carries double the visual weight of a single lamp in a larger chandelier, so compatibility failures become glaringly obvious.
Socket Types and Maximum Wattage
Two-light chandeliers nearly always use one of two socket bases: the E26 medium base (standard household size) or the E12 candelabra base (smaller screw base). The fixture’s rating plate inside the canopy or on the socket lists maximum wattage per socket—commonly 60W or 40W. Exceeding that rating overheats the wire insulation and the socket, posing a fire risk. With LED bulbs drawing far less wattage, it’s tempting to ignore the rating, but the number still matters: the fixture’s internal wiring is sized for that heat load, and over-lamping can degrade the plastic socket over time. Stick to bulbs at or below the stated maximum. If the label is unreadable, assume 40W per socket as a safe ceiling for candelabra-base fixtures.
LED, CFL, and Incandescent Trade-offs
Incandescent bulbs are disappearing, but some people still prefer the color rendering in decorative chandeliers. CFLs rarely fit the aesthetic and can be slow to warm up. The modern choice is LED, specifically dimmable LED candelabra bulbs. Not all LED bulbs are dimmable, and those that are may not work with older rotary dimmers. A mismatched pair causes visible flicker, especially at low dimming levels. The Energy Star certified LED bulbs undergo rigorous compatibility testing, and they list compatible dimmer models on their packaging—a detail I always check before installation. Color temperature also shapes mood. A 2700K warm white mimics the soft glow of incandescent and suits bedrooms and dining rooms. For task-oriented spaces like a kitchen island, 3000K offers a cleaner white without the clinical sharpness of 4000K.
Dimmer Compatibility and How to Avoid Flicker
Flickering in a two-light chandelier stems from three causes: a loose bulb, an incompatible dimmer, or voltage fluctuations. My troubleshooting sequence: tighten both bulbs first—candelabra threads are short and can back out from vibration. Next, check whether the dimmer is rated for the total wattage of the two LED bulbs. Many older dimmers require a minimum load of 40W or more; two 5W LEDs won’t meet that threshold, so the dimmer can’t regulate current properly and the bulbs flicker. Swap in a dimmer designed for low-wattage LED loads. If flickering persists, the issue may be neutral wire sharing in the circuit, which requires an electrician’s assessment. For anyone building a new installation, I recommend sourcing a dimmer that lists your specific bulb model on its compatibility chart. Both Lutron and Leviton publish these charts online. A flickering 2-light chandelier is nearly always a bulb-dimmer mismatch, not a faulty fixture. That one sentence can save hours of unnecessary rewiring.
Maintenance, Cleaning, and Finishing Touches
A meticulously installed two-light chandelier loses its appeal when dust coats the arms or fingerprints smudge the canopy. Cleaning without damaging the finish—especially on vintage brass or matte black surfaces—requires a gentle hand and the right materials.
Safe Cleaning Practices by Finish Type
Turn off the power at the breaker before touching any fixture for cleaning. Let the bulbs cool completely. For a white chandelier or any painted finish, use a dry microfiber cloth; avoid water or spray cleaners that can streak or lift paint. Brushed nickel and chrome handle a slightly damp microfiber followed by an immediate dry buff to prevent water spots. For vintage brass or oil-rubbed bronze, glass cleaner can strip the patina. Stick to a soft, lint-free cloth and, if necessary, a brass-specific polish applied only to the metal, not to the socket housings. Clean glass shades separately in warm, soapy water, dried completely before reassembly. These small fixtures collect dust quickly in kitchens and entryways, so a monthly dust with a feather duster extends the time between deep cleans.
Long-Term Inspection of Canopy, Chain, and Wires
Every six months, I suggest a quick visual check: look at the canopy for cracks or gaps, tug gently on the chain links to verify they haven’t spread, and sniff near the sockets for any acrid odor that signals overheating. If the chandelier hangs in a vibration-prone area—near a staircase or a slamming door—check the collar nut tightness. A loose collar nut can spin during use and drop the fixture inches overnight. These simple checks prevent the repair calls I most often field, which usually involve a wobbling chandelier with a cracked canopy mount.
Frequently Asked Questions
Can I install a 2-light chandelier on a sloped ceiling?
Yes, as long as the fixture is designed for it or you have a sloped ceiling adapter. The adapter allows the canopy to sit flush against the angled surface, maintaining a secure mount and a clean look. Not all adapters fit every canopy, so verify the kit’s specifications against your chandelier’s canopy diameter before purchase. Sloped ceilings up to 45 degrees usually work with standard adapters.
What’s the difference between a damp-rated and a wet-rated 2-light chandelier?
A damp-rated chandelier is suitable for indoor areas with occasional moisture, like bathrooms or covered patios not directly exposed to rain. A wet-rated fixture can withstand direct water contact and is safe for uncovered outdoor spaces. The rating is stamped on a label inside the canopy or on the fixture body. Using a dry-location chandelier in a damp or wet area risks corrosion and electrical shorts.
Why does my new 2-light chandelier flicker when I dim it?
Flickering almost always traces back to an incompatibility between the LED bulbs and the dimmer switch. Many older dimmers need a minimum load—often 40 watts or higher—that two small LED bulbs cannot provide. Replace the dimmer with one rated for low-wattage LED loads, and consult the dimmer manufacturer’s bulb compatibility list. If flickering continues after a dimmer swap, a loose neutral connection in the circuit may be the cause, and an electrician should inspect the wiring.
