

I’ve been making and using wax melts for over a decade, long before my plant obsession taught me to obsess over drainage holes and root rot. The single most underrated factor is the melting point of the wax base – what works in a tea light warmer may not work in an electric warmer. Many beginners buy refill packs without checking if their warmer can reach the needed temperature, leading to wasted product and frustration. That frustration hit me hard a few years back when I placed a soy-based clamshell on a tiny tealight warmer that never got hot enough to fully liquefy the wax. The cubes sat there half-melted, giving off almost no scent, and I thought the fragrance was defective. Turns out the warmer was the problem, not the wax. If you’re trying to figure out how to get the most from a wax melt kit without making the same mistakes, this guide covers everything from wax chemistry to safety to cleaning.
Key Takeaways
- A wax melt kit includes wax melts (often in clamshell packs) and a warmer – either electric or tealight – but the two must match in melting point and heat output.
- Most warmers need 15–30 minutes to fully melt 1–2 wax cubes, and scent throw typically lasts 8–12 hours before you notice a drop-off.
- Never add water to hot wax, never pour melted wax down the drain, and look for UL or ETL certification on any electric warmer.
- You can make your own wax melts with a DIY kit using soy or paraffin wax, fragrance oils, and clamshell molds – just like candle making without the wick.
What Exactly Is a Wax Melt Kit?
A wax melt kit is a two-part system: the wax melts themselves and a warmer that heats them to release fragrance into the air. The wax melts usually come in a clamshell container with six cubes, each around 0.5 ounces. You break off one or two cubes, place them in the warmer’s dish, and switch on the heat. The wax melts into a pool of scented liquid, and as it warms, fragrance oils evaporate into the room. No flame touches the wax directly – the heat source sits underneath the dish.
There are two main types of warmers. Electric warmers plug into an outlet and use a small heating element, often 15–25 watts, to warm a dish or tray. Tealight warmers rely on a small candle flame underneath the dish. The heat output differs significantly. Electric warmers typically reach higher, more consistent temperatures, while tealight warmers can vary wildly depending on the candle’s size and the distance between flame and dish. Scentsy and Yankee Candle both sell warmers, but the principle is the same across brands: the warmer must get hot enough to melt the wax fully, or you get weak scent and wasted product.
Wax Melts vs. Candles: Understanding the Difference
A wax melt warmer is not the same as a candle warmer. A candle warmer heats an entire jar candle to release scent, usually with a hot plate or lamp, while a wax melt warmer heats a small dish of wax melts without a wick. The wax melt itself never burns – it only melts and re-solidifies. That means wax melts can be reused until the fragrance is exhausted, which is usually after 8–12 hours of total warm time per cube. The wax itself does not evaporate; only the fragrance oils do. Once the scent is gone, you discard the wax and add fresh cubes.
Electric vs. Tealight Warmers: Heat Output Matters
Here is where my decade-long mistake comes into play. Soy wax melts typically have a melting point between 120°F and 130°F, while paraffin melts usually melt between 130°F and 150°F. A tealight warmer may only reach 110–120°F at the dish surface, which is enough for some soy blends but not for high-melt-point paraffin. Electric warmers with 20–25 watts can often hit 150°F or higher. The manufacturer’s listing rarely tells you the dish temperature, so you have to test. Place one cube on the dish, turn it on, and check after 20 minutes. If the cube has softened but not fully liquefied, your warmer’s heat output is too low for that wax type. The fix is to use a lower-melt-point wax, switch to a tealight with a taller flame, or upgrade to an electric warmer with higher wattage.
This is not snobbery – it is the difference between a room smelling like lavender for six hours and a room smelling like nothing at all. I have killed more houseplants from overwatering than I care to admit, but I never wasted a wax melt twice after learning this simple check.
How to Use a Wax Melt Kit the Right Way
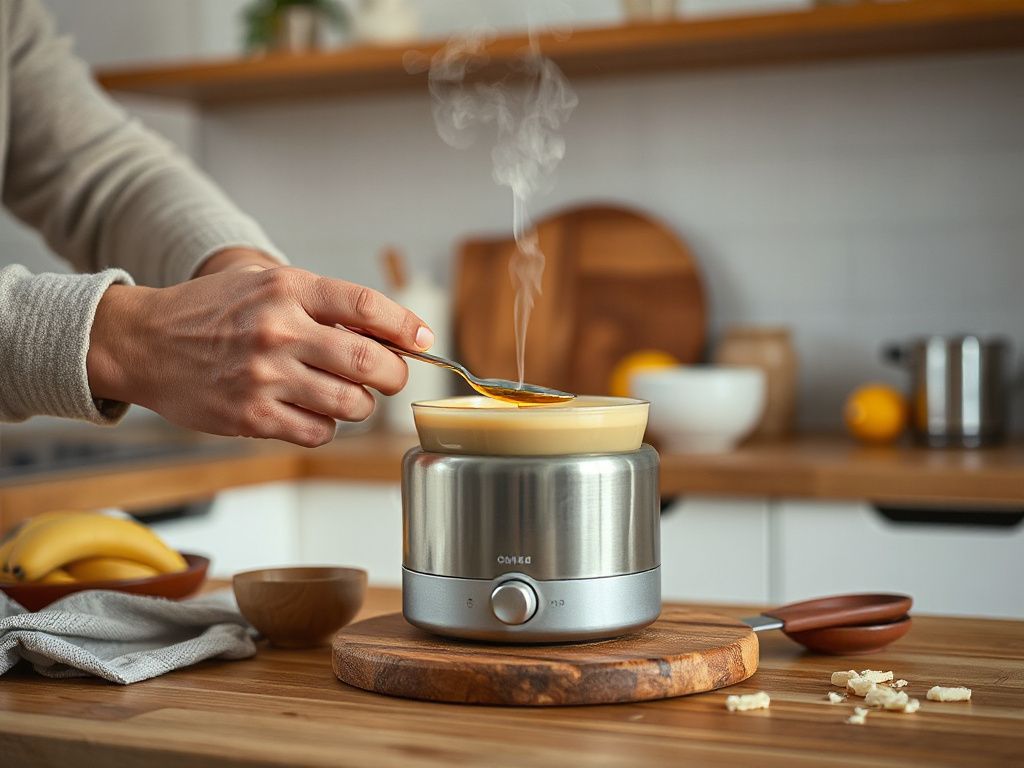
Using a wax melt kit is straightforward, but a few habits make the difference between a strong, long-lasting scent and a frustrating, faint one. Start with a clean warmer dish. Any residue from old wax or dust will interfere with heat transfer and can muddy the scent.
Step 1: Choose the Right Number of Cubes
For a small room (up to 150 square feet), one cube is usually enough. For a large living room or open floor plan, break off two or three cubes. Most clamshell packs from brands like Scentsy or CandleScience contain cubes that weigh about 0.4–0.5 ounces each, so two cubes give you roughly an ounce of wax. That melts into a shallow pool in a standard dish. Adding more than three cubes rarely increases scent throw much; the dish just overflows or the wax cools too quickly at the edges.
Step 2: Let It Melt Completely
Give the wax 15–30 minutes to fully liquefy before judging the scent. Fragrance oils evaporate most efficiently from a liquid pool, not from a semi-solid lump. If after 30 minutes the wax is only partially melted, your warmer is underpowered for that wax type. In that case, either switch to a lower-melt-point wax or use a different warmer. Never try to force the issue by adding a second tealight under an electric warmer – that is not how the device works and it creates a fire hazard.
Step 3: Know When to Replace the Wax
The scent will fade gradually. After about 8–12 hours of total warm time, depending on the fragrance load and wax type, you will notice the throw becomes noticeably weaker. That is the signal to discard the wax. You can tell the wax is spent when it no longer releases a detectable scent even while fully melted. Do not keep adding fresh cubes on top of old, spent wax. The old wax dilutes the fragrance concentration of the new cubes, and the melted pool becomes a muddy mix of tired scent molecules.
Step 4: Cleaning the Warmer Dish
Once you remove the old wax, wipe the dish with a paper towel to absorb any remaining film. For stubborn residue, place a paper towel in the dish and turn the warmer on for a minute. The towel will soak up the melted wax, leaving a clean surface. You can also use a cotton ball or pad with a drop of unscented rubbing alcohol to remove any lingering fragrance. Do not use soap and water unless the dish is removable and the warmer is unplugged and completely cool. Water trapped under the dish can cause rust or electrical issues.
One self-contained fact worth remembering: A single wax melt cube releases fragrance most strongly during the first 4–6 hours of warm time, after which the scent throw drops by roughly half each subsequent use.
Choosing the Right Wax for Your Melts: Soy vs. Paraffin
Wax melts come in two main bases: soy wax and paraffin wax. Each behaves differently in a warmer, and picking the wrong one for your setup leads to weak scent or wasted cubes. The right choice depends entirely on the warmer being used that day.
Soy Wax Melts
Soy wax melts are made from hydrogenated soybean oil. They have a lower melting point, usually between 120°F and 130°F, which makes them ideal for low-heat tealight warmers or small electric warmers. Soy also burns cleaner, meaning it leaves less soot residue on the dish over time. The trade-off is that soy wax typically holds less fragrance oil than paraffin – around 6–8% fragrance load versus paraffin’s 8–12%. That means soy melts may smell softer and fade a bit sooner. If you want a long, slow release in a small room, soy is a good choice. For a deep dive into soy-based candle making, our article on the best candle making kit with soy wax reviews for 2026 covers the supplies and techniques in detail.
Paraffin Wax Melts
Paraffin wax is a petroleum byproduct and has a higher melting point, typically 130°F to 150°F. It can hold a higher fragrance load, which means a stronger, more immediate scent throw. Paraffin melts are what you want if you have an electric warmer with 20 watts or more, or if you are scenting a large open space. The downside is that paraffin can leave a slight residue and may produce a mild petroleum odor when first melting, though high-quality fragrance oils usually cover that. If you want to understand paraffin more fully, our complete guide to liquid paraffin wax explains the chemistry and uses.
Other Wax Options: Coconut and Blends
You will also see coconut wax melts, which are often blended with soy or paraffin to improve hot throw and reduce cracking. Coconut wax has a melting point around 100–110°F, even lower than soy, so it works in nearly any warmer. However, pure coconut wax is soft and may not hold its shape well in clamshells, so it is usually mixed with other waxes. We have a separate piece on coconut wax candles we reviewed in 2026 that discusses how coconut performs in different applications.
When I choose a wax melt, I flip the question around: what warmer am I using? My go-to tealight warmer in the bathroom runs cool, so I stick with soy or coconut blends. The 25-watt electric warmer in my living room handles paraffin melts beautifully. Matching the wax to the heat source is the single biggest factor in getting a strong scent throw.
Safety and Maintenance for Wax Melt Warmers
Wax melt warmers are generally safe when used correctly, but a few rules are non-negotiable. The most important is electrical certification. Any electric warmer you buy should carry a UL or ETL certification mark, which means an independent lab tested it for electrical safety. Without that mark, you are trusting a no-name manufacturer with a heating element that sits unattended for hours. I would not plug in an uncertified warmer any more than I would leave a space heater running overnight.
Can You Leave an Electric Warmer On Overnight?
If the warmer is UL or ETL listed and has a built-in timer or automatic shut-off, leaving it on for a few hours overnight is usually fine. The U.S. Consumer Product Safety Commission recommends treating any heat-producing device as a potential fire source, so keep the warmer on a flat, stable surface away from curtains, bedding, and anything flammable. I personally never leave a warmer running while I sleep, because I do not trust a $15 heating element with an eight-hour unsupervised stretch. If you do, make sure the warmer is on a timer and never place it on a wooden surface without a trivet.
Never Add Water to Hot Wax
This rule cannot be overstated. Adding water to melted wax causes an instant splatter reaction. Water sinks to the bottom, rapidly vaporizes into steam, and throws hot wax upward like a miniature explosion. The resulting burns are serious, and the mess is worse. If you want to clean the dish while wax is liquid, use a paper towel, not water. Water has no place in a wax melt warmer, ever.
Cleaning and Reusing Wax
Can you reuse the wax after the scent has evaporated? Technically yes, the wax itself does not degrade, but it will have almost no fragrance left. You can remelt it and add a few drops of fragrance oil, but that is more effort than it’s worth. Most people discard spent wax after 8–12 hours of total warm time. To clean, let the wax cool and solidify, then pop it out as described earlier. If you want to remove every trace of old scent before switching to a different fragrance, wipe the warm dish with a cotton ball soaked in rubbing alcohol, then let it dry completely before adding new wax.
Wax melts are fragrance-oil infused and never meant to be ingested or used as skin products. Even if they look like candy or smell like dessert, keep them away from children and pets. The fragrance oils used in wax melts are not food-grade and can be toxic if swallowed.
Making Your Own Wax Melts with a Kit
Yes, you can make your own wax melts with a kit. The process is nearly identical to candle making, minus the wick. A basic wax melt kit includes wax (soy or paraffin), fragrance oil, a pouring pitcher, a thermometer, and clamshell molds. You will also need a double boiler or a dedicated melting pot. The steps are simple, but temperature control is critical.
Heat the wax to 185°F, add fragrance oil at 185°F (6–10% fragrance load by weight), stir for two minutes, then let the mixture cool to 130–135°F before pouring into clamshells. Pouring too hot causes sinkholes; pouring too cool causes rough surfaces. Let the filled clamshells sit undisturbed for several hours until fully hardened. CandleScience has extensive free guides on wax melt making, including exact temperatures for different wax types.
Making your own melts gives you total control over scent strength and wax type, and it costs far less per ounce than buying pre-made clamshells. The only drawback is the initial investment in equipment, but a basic kit costs about the same as a dozen store-bought clamshells. If you already make candles, you likely have most of the tools. Our article on candle making kits with soy wax reviews for 2026 covers the gear in more detail. And if you want to experiment with different wax bases, the guide on liquid paraffin wax explains how paraffin behaves under heat.
Can you mix different wax melt scents together? Yes, and this is where DIY really shines. Combine a vanilla cube with a coffee cube for a mocha blend, or a eucalyptus cube with a lavender cube for a spa-like atmosphere. Just be aware that mixing waxes with different melting points can cause uneven melting. If one cube melts faster than the other, the scent profile will skew toward the faster-melting one. For best results, mix cubes of the same wax type and similar fragrance intensity.
Frequently Asked Questions
How many cubes should I put in my warmer for a strong scent?
For a small room, one cube (about 0.5 ounces) is usually enough. For larger spaces, use two or three cubes. More than three rarely increases scent throw and can overflow the dish. The warmer’s heat output matters more than cube count – a 20-watt electric warmer will throw scent from two cubes better than a weak tealight warmer with five cubes.
Why does my wax melt stop smelling after a couple of days?
Fragrance oils in wax melts evaporate over time as the wax is heated. After roughly 8–12 hours of cumulative warm time, most of the fragrance has been released, and the wax becomes scentless. The wax itself does not evaporate; only the fragrance does. Once you notice a weak scent even while the wax is fully melted, it is time to discard the old wax and add fresh cubes.
Can I reuse the wax after the scent is gone?
You can technically remelt spent wax and add a few drops of fragrance oil, but the result is never as strong as fresh wax. The wax’s structure may have degraded slightly from repeated heating and cooling, making it harder for fragrance to bind. Most experienced users simply discard spent wax and replace it – the cost per cube is low enough that re-scenting is not worth the effort.
Is it safe to leave an electric wax warmer on overnight?
Only if the warmer is UL or ETL certified, has an automatic shut-off or timer, and is placed on a stable, heat-resistant surface away from flammable materials. Even then, many safety experts recommend not leaving any heat-producing device unattended for more than a few hours. If you do leave it on, use a timer so it switches off after 4–6 hours.
