

Sometime in the last three years, the corner bench stopped being a niche item for awkward nooks and became a legitimate furniture category of its own. Walk through any compact urban apartment building right now and you’ll see the same thing: a wedge-shaped seat tucked under a coat rack, a pair of wet sneakers underneath, and a stack of mail on top. The reason is simple—entryways are getting smaller, and a corner that sits empty wastes about nine square feet. A corner entryway bench turns that dead angle into a place to sit, stash, and breathe for thirty seconds before you head back out.
I’ve designed entryway furniture for tight city apartments for close to a decade now, and the most overlooked dimension on a corner bench is the diagonal width across the seat. That is the space a person actually sweeps when they sit down—their knees, their elbows, their torso all project outward at an angle that a flat-front bench never has to deal with. Beginners measure the two walls behind the bench and think they’re done, but they forget that the bench must leave enough room for a seated person to bend down and tie a shoe without smacking a shoulder into the drywall. The second thing I always check before recommending any corner piece is the back corner joint. That point takes more twisting load than any other part of the bench, and if it’s held together with nothing but glue and hope, it will wobble within six months and pull apart under repeated sitting load. A metal bracket or a proper mortise and tenon joint is not a luxury there—it’s the difference between furniture and firewood. This guide walks through every measurement, material, and mounting decision you need to make before you buy or build, so that the bench you choose actually works the way corners work. If you’re weighing a full cabinet-style setup, our guide to an entryway cabinet with bench covers that direction in more detail.
Key Takeaways
- Measure the actual corner angle and the diagonal seat clearance before anything else—corners are rarely a true 90 degrees and a seated body needs more room than a standing one.
- Anchor the bench to wall studs with a metal bracket regardless of its weight; tipping safety is not optional, especially around children or heavy bags.
- Choose water-resistant materials and a reinforced back corner joint, or the bench will fail at the exact spot where wall meets wall meets body weight.
Planning and Measuring for a Corner Entryway Bench
Most people start with a pretty picture and then try to make the space fit the furniture. That works about as well as buying shoes before measuring your feet. A corner bench is a piece of geometry, and if you ignore the geometry, you’ll end up with a wobbly seat that juts into the doorway or leaves an ugly gap against the baseboard. The first step is not to pick a wood stain—it’s to measure the actual corner you’re working with.
Why the Corner Angle Matters More Than You Think
Builders frame walls to 90 degrees in theory, but drywall, tape, and mud add up to a corner that is almost always off by a little. In older homes, that drift can be two or three degrees, and even a single degree over a 24-inch bench leg creates a visible gap at the wall or forces the bench to sit on one edge instead of flat. You cannot assume your corner is square. Take a framing square or a digital angle finder and measure the angle at the exact height where the bench back will touch the wall. Wall corners in older homes frequently drift off 90 degrees by a degree or two, which means a bench built for a perfect square will rock against one wall or leave a wedge-shaped gap you will notice every single day.
Write that number down, along with the length of each adjoining wall from the corner to the nearest door frame, light switch, or baseboard heater. Those obstructions dictate how far the bench can extend along each wall. A bench that looks short in a showroom will suddenly feel enormous when it blocks the path from the front door to the kitchen.
Measuring the Diagonal Clearance
The diagonal measurement is not the length of one wall or the other. It is the straight-line distance from the back corner to the front outer edge of the bench, and that number is what your body actually occupies when you sit down. Think about the act of sitting on a corner bench: your hips land on the seat, your knees point out at an angle, and your shoulders do the same. Then you bend forward to untie a shoe, and your head travels forward and down over the front edge. If the opposite wall, a door swing, or a coat rack is closer than about 24 to 26 inches from the front corner, you will feel cramped every time you use it.
To get this right, mark the bench’s planned footprint on the floor with painter’s tape. Then sit on a low stool placed inside that tape and go through the full motion: sit, bend to tie a shoe, stand up again. If your elbow or knee crosses the tape line, the bench is too deep or too long for that corner. I’ve seen more returns from this single oversight than from broken legs or bad finishes combined.
Ideal Seat Depth and Height for a Corner Bench
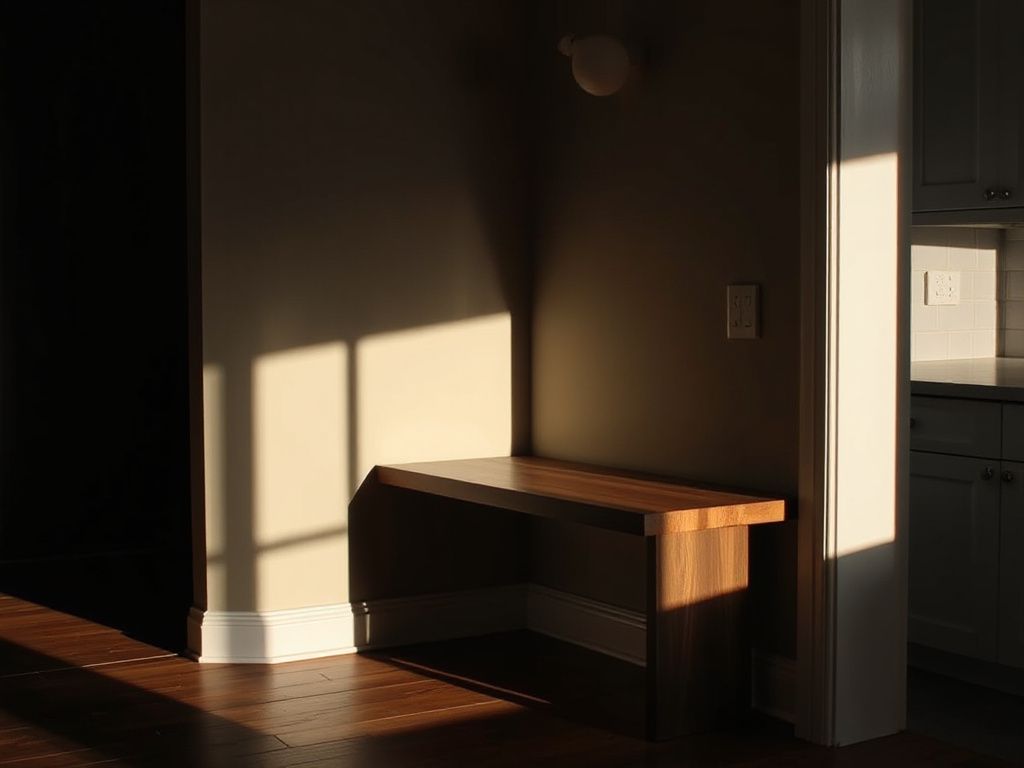
Standard bench height is 17 to 19 inches from the floor to the top of the seat cushion, and that holds true for corner benches. Go lower than 16 inches and most adults will feel like they’re squatting; go higher than 20 inches and shorter family members will have their feet dangling. Seat depth for a flat bench is usually 16 to 18 inches, but a corner bench can get away with a slightly shorter depth along the walls because the diagonal seating area is naturally wider. The problem is the back corner—if the bench has a solid back that meets in the corner, the person seated there has no place for their shoulders. A soft, rounded backrest or an angled back panel that opens up the corner solves this. Without a backrest, the bench can be shallower but you lose the support that makes it comfortable for putting on boots.
One self-contained truth: A seat depth of 16 inches measured perpendicular to the wall is usually adequate for a corner bench, but the diagonal depth from corner to front edge should be at least 22 inches to keep a seated adult’s knees from hitting the opposite wall. That number comes from standard adult anthropometric data, not guesswork.
Choosing the Right Materials and Construction
An entryway bench gets abused in ways your living room sofa never will. Wet umbrellas lean against it, snowy boots drip on it, grocery bags get dropped on it, and a 200-pound adult flops onto it after a long day. The material and joinery have to handle all of that without complaint.
Wood Species and Finishes for High-Traffic Entryways
Solid wood is the gold standard because it can be sanded and refinished years down the line. White oak and hard maple are the two best choices for an entryway bench—both are dense, closed-grain woods that resist dents and moisture far better than pine or poplar. Baltic birch plywood is a smart budget alternative for the seat and panels; it is stable, void-free, and takes a clear finish beautifully. Avoid particleboard and MDF for any part of the bench that will see moisture, because those materials swell and crumble when wet shoes sit on them for an hour every day.
The finish matters as much as the wood. A water-based polyurethane gives a hard, clear coat that stands up to wet boots, but it can look plasticky. A tung oil finish penetrates the wood and gives a warmer, more natural look, but it requires reapplication every six to twelve months in a high-traffic entryway. Solid white oak with a tung oil finish resists moisture better than many softer woods, but any wood bench needs periodic re-oiling to keep water from soaking into the grain. If the bench is made from engineered wood, check for Greenguard Gold certification on the finish—that tells you the off-gassing levels meet strict indoor air quality limits, which matters in a small entryway with poor ventilation.
The Importance of the Back Corner Joint
Most flat benches fail at the leg-to-seat connection. Corner benches fail at a more specific spot: the back corner where the two sides meet. That joint takes simultaneous forces from two directions—the weight of the person sitting, and the lateral push from someone leaning against one wall while pulling a boot on. A simple butt joint with glue and screws will hold for a few months, then start to open up. The only two acceptable options are a mortise and tenon joint (strong, but requires skilled woodworking) or a steel corner bracket bolted through the inside of the frame. The bracket should be at least 3 inches long on each leg and use 1/4-inch machine bolts, not wood screws. If the manufacturer does not specify the joinery on the product page, assume it is not there. That absence tells you the bench is built for looks, not for daily sitting.
Weight Capacity and Storage Considerations
The ANSI/BIFMA X5.9 standard for seating provides test methods and performance requirements for residential benches, including static load and durability tests. A bench that meets this standard has been tested to support at least 250 pounds directly on the seat, with a safety factor built in. Any reputable manufacturer will list a weight capacity—if they don’t, treat the bench as decorative and keep it under 150 pounds. That is not an exaggeration; a corner bench with unreinforced joints can split under a single heavier adult sitting down hard.
If the bench includes under-seat storage, the total load includes not just the person but the stored items. A lid that holds 300 pounds of downward force when you sit on it may bend or hinge-fail if you store 50 pounds of shoes and bags inside, because the hinges and lid frame are now carrying both loads in different directions. Look for soft-close hinges rated for at least 75 pounds, and check that the storage compartment has a center partition to prevent bowing. A bench that lists a 300-pound weight capacity without specifying whether that includes storage weight is hiding something.
Installation and Safety for a Corner Bench
You would not hang a heavy mirror without checking the drywall anchors, and you should not place a corner bench without planning how it stays in place. A freestanding bench can tip forward when someone sits on the front edge, and a corner bench has an additional tipping axis—forward and to the side along one wall. Anchoring is not optional.
Anchoring to the Wall: Non-Negotiable
The Consumer Product Safety Commission has tracked furniture tip-over injuries for decades, and the prevention guidance is the same for a bench as for a dresser: secure it to the wall. A corner bench should be anchored at two points—one on each adjoining wall, near the top of the bench back. Use a steel L-bracket screwed into a wall stud with at least a 2-inch #10 wood screw. Toggle bolts through drywall are a weak substitute and will pull out under a sudden load, so locate the studs first. If the bench has no back, anchor it through the underside of the seat into the wall studs using angle brackets. The bracket is small; the consequences of skipping it are not.
For the anchor hardware, I check the same thing I check on any wall-mounted piece: is the bracket included, or do you have to buy it separately? A bench that arrives without wall anchors sends a message that the manufacturer does not care about your safety. A pair of steel brackets costs three dollars at any hardware store. There is no excuse to leave them out.
Securing to Irregular Walls
After you have measured the actual corner angle, you will likely find a gap somewhere. The fix is not to force the bench flush and crack the joint—it is to shim the gap. Use tapered cedar shims or plastic shims pushed behind the bench at the wall contact points. Push them in until the bench sits level and does not rock, then snap off the excess and screw through the shim into the wall. If the gap is more than a half inch, the bench was not designed for your corner and you need a different piece or a custom-built bench. In an irregular corner, a bench with adjustable leveling feet on the front legs is worth its weight in shims.
Avoiding a Cramped Feel in Small Entryways
A corner bench can either make a small entryway feel efficient or make it feel like a furniture warehouse. The difference comes down to three things: bench leg profile, color, and what is mounted above it. Tapered legs or a cantilevered seat that leaves the floor visible underneath creates a sense of openness. A solid base that goes to the floor eats visual space and makes the bench feel heavier. Light wood tones or a painted finish that matches the wall color visually recedes, while dark walnut or espresso makes the corner feel like a black hole. Finally, what you put on the wall above the bench matters as much as the bench itself. A bulky coat rack mounted too low will crowd the seating area, and a too-large mirror will reflect the bench back at you in a way that doubles the visual clutter. Our look at rounded corner mirrors shows how a modest-size mirror with soft edges can open up a tight entry without adding visual noise.
One self-contained design rule: A corner bench with an open base and legs that lift the seat at least 12 inches off the floor makes an entryway feel noticeably larger than a bench with a closed box base, even when the measurements are otherwise identical. That gap underneath lets your eye travel to the wall, which signals space rather than blockage.
Design Choices and Common Mistakes
Beyond the structural decisions, the shape and features of a corner bench affect how you actually use it day to day. These are the mistakes I see repeatedly, and they are all avoidable if you think through the seated experience before you buy.
Backrest or No Backrest?
A bench with a backrest is more comfortable for putting on shoes and gives you a place to lean while waiting for a family member. The problem in a corner is that a solid backrest meeting at 90 degrees creates a hard, unwelcoming point right where your spine wants to go. A corner bench with an angled back panel that opens the corner—think a 135-degree angle instead of 90—solves this beautifully. A bench without a backrest takes up less visual space and is easier to slide onto, but it offers no support and often ends up with jackets and bags piled against the wall behind it. If you choose a backless bench, plan to install a padded wall panel or at least a row of coat hooks at the right height to keep wet coats off the bench surface.
Integrating Storage Without Sacrificing Leg Room
Under-seat storage is the most common feature on corner benches, and it can be either a blessing or a curse. A lift-top storage compartment works well for seasonal items you rarely need—hats, gloves, spare umbrellas—but it is useless for shoes you wear daily, because lifting the seat every time you leave the house is a chore that gets abandoned within a week. Open cubbies underneath the bench are better for daily shoes, but they eat into leg clearance. If the cubby is less than 10 inches high, most adult shoes will not fit standing upright, and sneakers will get shoved in sideways, sticking out into the walkway. For daily backpack and bag storage, a better approach is to keep the bench seat open and add wall-mounted storage above or beside it. Our review of entryway backpack storage solutions covers hooks and shelves that hold a full school bag without cluttering the seating area.
If you go with built-in storage, check the hinge quality. Lift-top benches that open and close daily need hinges that can take at least 30,000 cycles—that number is rarely listed, but European-style cup hinges from a brand like Blum or Grass generally hold up. Cheap flap hinges will sag, and the lid will not sit flush after six months, which means the corner looks broken even when it isn’t.
Maintenance and Cleaning for Longevity
Wood benches in an entryway need a quick wipe-down every few days and a deeper cleaning monthly. Wet shoes should not sit directly on raw wood or oil finish for long—lift them onto a boot tray or mat, because standing water is the fastest way to raise the grain and create permanent dark stains. For a polyurethane finish, a damp cloth with mild soap is all you need. For an oil finish, reapply a thin coat of tung oil or Danish oil every six to twelve months, focusing on the top surface and the front edges where thighs and hands contact the wood. A bench with a water-resistant finish is still not waterproof, and the finish is only as good as its maintenance.
For the wall behind the bench, install a splash guard or a beadboard panel if you live somewhere with snowy winters. Melting snow from boots will wick up the wall and cause mold behind a bench that sits flush against drywall. A simple 12-inch-high piece of painted plywood or PVC panel solves this permanently.
Cost Expectations and DIY vs Buying
Now we get to the number that everyone wants and nobody wants to talk about. Corner benches are a niche item, which means you pay a premium for the custom shape compared to a straight bench of the same material and quality. But the range is wide enough that there is a real choice to make.
What You Should Expect to Pay
A solid wood corner bench with proper joinery and a water-resistant finish typically starts around $400 and can easily reach $800 or more for white oak or walnut with storage and an angled back. Flat-pack versions from mass-market brands like IKEA or Target use particleboard or thin plywood and cost between $100 and $250, but they will not survive a wet entryway for more than a few years. Mid-range options from West Elm or CB2 land in the $300 to $600 range and usually feature solid wood legs with veneered panels—acceptable if the corner joint is reinforced, but check the anchor points. A solid wood corner bench with proper joinery typically starts around $400, while a flat-pack version made from particleboard can be had for under $150, and the two are not in the same durability category. You get what you pay for, but the wrong cheap bench still costs money and only lasts one winter.
Building Your Own Corner Bench
If you have basic woodworking skills—straight cuts, pocket holes, and a drill—building a simple corner bench without storage is a weekend project that saves you a few hundred dollars. The key is to use Baltic birch plywood for the seat and side panels; it machines cleanly and will not warp like solid wood glued into a corner. Cut the two side panels to match your measured wall angles, then join them at the back corner with a plywood spline or a metal corner bracket on the inside. Pocket screws alone will not hold the back corner under repeated sitting; you need a mechanical connection. Finish all surfaces, including the underside, with at least three coats of water-based polyurethane, and let it cure for 72 hours before using it. A DIY corner bench with a reinforced back corner and proper wall anchoring is just as safe as a store-bought one, and you can size it perfectly to your actual corner. Just do not skip the wall anchors—no bench is stable enough to stand alone when someone sits on the front edge.
Frequently Asked Questions
How do I measure a corner to fit a bench properly?
Measure the actual angle of the corner with a digital angle finder, not by eye. Then measure the length of each adjacent wall from the corner to the nearest obstruction. Finally, mark the bench’s planned footprint on the floor and test the seated motion: sit, bend, stand. If you cross the line, the bench is too deep. The diagonal width across the seat must also clear at least 24 inches from the front corner to the opposite wall or door swing.
Can a corner bench safely double as storage?
Yes, but the total weight rating must account for both your body and the stored items. A lift-top storage compartment adds load to the lid and hinges, so look for hinges rated for heavy cycles and a center partition. Open cubbies are better for daily shoes but require at least 10 inches of vertical clearance. If the manufacturer does not list a combined weight capacity, assume the bench is decorative only.
What is the best material for a corner bench in a high-traffic entryway?
Solid white oak or hard maple with a water-resistant finish is the most durable choice. Baltic birch plywood is a close second for painted or veneered benches. Avoid particleboard and MDF anywhere near moisture, as they will swell and disintegrate under wet shoes. For finishes, water-based polyurethane handles drips best, while tung oil needs periodic reapplication but looks more natural.
How do I secure a corner bench to the wall to prevent tipping?
Anchor the bench to studs in both adjoining walls using steel L-brackets and 2-inch #10 screws. Place one bracket near the top of the bench back on each side, or through the underside of a backless seat. Never rely on drywall anchors alone for a seating load. If the corner is irregular, use shims behind the brackets to keep the bench flush before tightening the screws.
