

Most advice you’ll see about door curtain rods starts from the wrong premise. It treats a door as a stationary frame, exactly like a window casing. But a door swings. It slams. Its frame carries vibrations no window rod ever feels. If you install a rod the way you would above a window, you’ll be tightening it again within the week — or watching the fabric sag and the finials rattle. I’ve fitted curtain rods over dozens of doorways, and the single biggest miss is assuming the frame is parallel. Most door frames taper slightly from floor to header, and a tension rod that sits tight at the bottom will be loose at the top. Also, a door curtain rod lives on a moving surface—every time the door opens, the rod gets a jolt that a window rod never gets, so you have to think about spring tension and mounting choice differently.
Key Takeaways
- Tension rods and mounted rods solve different problems: tension grips via friction on the frame, while brackets screw into the wood or drywall and handle more weight without sliding.
- Measure at top, middle, and bottom of the door opening. A frame that is out of square by even ¼ inch will cause a spring-loaded rod to shift or lose tension.
- The door’s swing arc and handle clearance dictate rod placement far more than aesthetic preference. A rod set too low blocks the latch; too high and the door won’t close if the curtain bunches.
The Real Difference Between Window and Door Curtain Rods
Window rods sit in a static environment. The casing doesn’t move. A door frame, by contrast, is a mechanical assembly. Every time the door slams or the lock engages, energy transfers through the jamb. Tension rods — which rely on a spring-loaded mechanism pressing outward — depend on that frame staying completely still. But when the wood flexes, the grip loosens. That is why you’ll find a tension rod that held perfectly for three days suddenly drops onto your head during a windy afternoon.
The spring itself introduces another variable. A spring-loaded rod exerts constant outward force, but that force changes as the rod is compressed or extended. A short extension pushes the spring harder against the rubber ends, increasing friction. Extend the same rod near its maximum length and the spring pressure drops, making it far easier to dislodge. This isn’t a design flaw; it’s physics. Knowing it lets you shop differently.
Why Door Frames Aren’t Square
Wood swells. Houses settle. Builders rarely shim door jambs to perfection on both sides. The result is a frame that can be ¼ inch wider at the threshold than at the head jamb. A tension rod that you adjust to feel bombproof at eye level might be dangerously loose 5 feet lower. Measure at three points — top, middle, and bottom — and if the variance is more than 1/8 inch, you’ll need to compensate with additional friction material or move to a bracket-mounted solution. A door curtain rod on a warped frame without that compensation will slide.
The Jolt Factor
A door opening at normal speed hits its stop with enough force to shift an unsecured 2-pound object. Multiply that by hundreds of cycles a week, and the rod end walks down the casing millimetre by millimetre. If you look closely at a tension rod that keeps slipping, you’ll often see a faint rub mark showing that the rubber pad has travelled downward under vibration. That’s not the rod failing; it’s the environment doing exactly what it always does. The fix isn’t a tighter spring — it’s a hardware change.

How to Measure and Choose a Rod That Stays Put
Picking the right door curtain rod starts with two numbers: the exact width of the door opening, measured at three heights, and the weight of the curtain you intend to hang. Lightweight polyester sheers demand far less holding strength than a lined blackout panel with a sewn-in thermal backing. If you plan on layering — say, a sheer behind a heavier drape — you’re looking at a double rod setup, and the combined load increases quickly.
Measuring the Opening
Use a steel tape, not a fabric one. Press the hook into the inside edge of the door casing at the top left and read the distance to the inside edge at the top right. Repeat at the midpoint and immediately above the floor. Write all three down. The smallest measurement governs what size tension rod can fit without binding; the largest tells you whether the spring range will still have enough force at that extension. Most spring-loaded rods have an adjustment range etched on the tube — a 28-to-48-inch rod, for instance, exerts maximum clamping force near the 28-inch end and minimum near the 48-inch end. A door opening of 42 inches measured at the tight spot means the rod will be extended well past its sweet spot, and grip will be weak unless the rod is specifically rated for that span.
Material and Finish for Different Rooms
Humidity is the silent enemy of door curtain rods. In a steamy bathroom, a bare steel rod will rust within months, staining the mounting points. Aluminum rods with a powder-coated finish resist corrosion better and are lighter, making them easier to keep in place with less spring tension — but they also bend more easily if a child yanks on the curtain. Stainless steel offers the best balance of rigidity and rust resistance. If you’re mounting a rod on a metal door — common in entryways or utility rooms — magnetic curtain rods can work, but only if the door skin is magnetic-grade steel. Aluminum or fiberglass doors won’t hold a magnet at all. Test with a fridge magnet first.
Can a Tension Rod Hold a Blackout Curtain?
It can, briefly. A single panel of mid-weight blackout fabric with a thermal backing can weigh between 3 and 5 pounds. A standard ½-inch diameter tension rod extended to 36 inches might hold that at first, but the combination of the door’s motion and the curtain’s weight will overcome static friction within days. If you must use a tension rod for a heavy fabric, look for extra-large rubber pads and a rod diameter of at least 1 inch. Better yet, support the fabric with a top-and-bottom rod arrangement — one rod at the header, one at the sill — which distributes the load and prevents the curtain from swinging like a pendulum. That bottom rod is a detail most store-bought kits ignore.
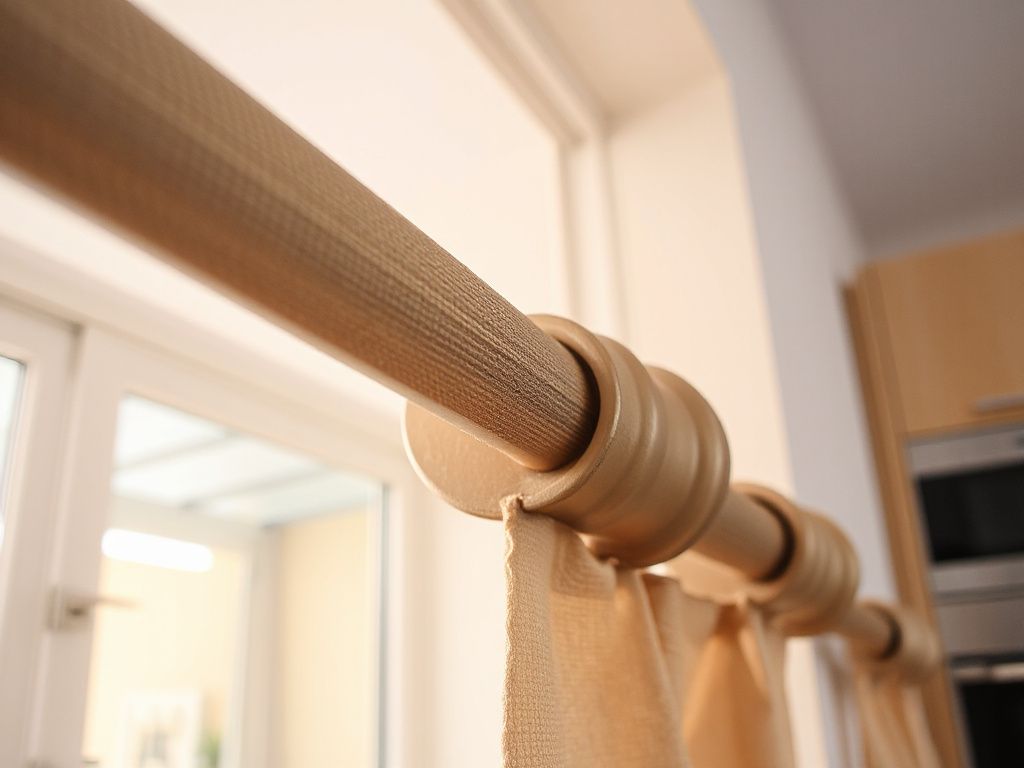
Installing a Door Curtain Rod Without Regret
Installation falls into two camps: friction-based tension rods and hardware-mounted rods with brackets. Both can be put up in under 15 minutes, but the prep work determines whether the rod stays up for a year or for a morning.
Step 1: Clean and Assess the Mounting Surface
Wipe the door casing with isopropyl alcohol to remove dust, grease, and old paint flecks. On a gloss-painted frame, the smooth surface reduces friction dramatically. If you have to use a tension rod on glossy paint, apply a strip of clear grip tape to the contact points. Do not use adhesive-backed pads that leave residue — the goal is to increase friction, not glue the rod in place.
Step 2: Test Fit the Rod Before the Curtain Goes On
This step saves you from wrestling with fabric while trying to see if the rod is level. Compress the tension rod enough to slip it between the casing sides. Position it at the exact height you plan to use — usually 2 to 3 inches above the top of the door glass or panel, ensuring it clears the door handle’s arc when the door swings open. Release the spring slowly. Give the rod a firm downward tug. If it shifts, check the measurements again. A properly sized tension rod should feel like it’s biting into the wood, not just resting against it.
Step 3: Mounting Brackets for a Fixed Rod
If you’ve ruled out a tension rod, bracket-mounting is the permanent fix. Use a practised approach to curtain rod installation: mark the bracket screw holes with a pencil, drill a pilot hole slightly smaller than the screw threads’ core diameter, and drive the screws steadily without over-torquing. For casing that turns out to be hollow — common in pre-hung door frames — you’ll need drywall anchors rated for at least 30 pounds. Butterfly toggles hold better than plastic expansion anchors in this application because the door’s constant vibration can work plastic plugs loose over time. A stud finder will tell you if there’s solid wood behind the casing; if there is, a #8 wood screw sunk 1¼ inches gives a grip that a tension rod can’t match.
Step 4: Hanging the Curtain and Adjusting Clearance
Slide the curtain onto the rod before the final brackets are fully tightened. This lets you eyeball the drape and confirm the fabric doesn’t bunch against the door handle. For French doors or doors with a glass insert, a door mirror adds light but also reflects the curtain’s back, so you may want to use a liner or a fabric with a finished reverse side. Once the curtain is on, tighten the bracket screws completely and attach the finials. Give the door a full swing cycle — open, close, latch — and watch for any contact between the rod and the handle or between the curtain and the floor.
Solving the Most Annoying Door Curtain Rod Failures
Once installed, a rod that slips, sags, or gets stuck becomes a daily frustration. These fixes address the root mechanical cause, not just the symptom.
Rod Slips Down the Frame
Slipping downward is almost always a symptom of insufficient friction paired with vibration. Check if the frame is tapered. If the top measurement is narrower than the bottom, the rod is acting like a wedge in reverse — every door slam drives it lower. The quick remedy is to increase the diameter of the rubber ends. A wrap of self-fusing silicone tape adds grip without adhesive and can be layered until the rod bites correctly. For persistent slips, install small metal L-clips just below the rod ends on the casing; the rod then rests on the clips, which take the weight while the spring provides lateral stability.
Sagging in the Middle
A single rod that bows under weight needs either a smaller span or a larger diameter. A ¾-inch rod over 36 inches will flex noticeably with more than 4 pounds of fabric. Stepping up to a 1-inch diameter aluminum or steel rod increases the section modulus enough to eliminate visible sag. For spans beyond 48 inches, a center support bracket is necessary, but only if the door design allows — a center support on a door rod usually interferes with the door panel itself. In that case, a tension rod with a double tube design (an inner rod sliding inside an outer tube) reduces flex because the overlapping section acts as a stiffener.
Stuck Tension Rod
When a tension rod won’t budge during removal, it’s usually because the spring has been compressed near its maximum for a long time and the locking collar has seized. Do not pry it with a screwdriver — that damages the casing. Instead, twist the rod in the direction that would normally unlock it while tapping the end cap lightly with a rubber mallet. The vibration breaks the stiction. If that fails, spray a small amount of dry silicone lubricant onto the collar seam and let it penetrate for a few minutes before trying again.
Rod on a Metal Door
A steel exterior door can take a magnetic curtain rod, but the magnet strength matters greatly. A rod rated for 15 pounds of magnetic pull will hold a lightweight sheer but not much more, because the pull force drops rapidly if the magnet isn’t flush with the metal. Before ordering, like the guidance Family Handyman offers for tension rod setups, verify that the door’s surface is flat and not covered in thick paint, which can reduce magnetic holding power by half. If drilling is allowed, a simple pair of wall-mounted brackets with #10 self-tapping metal screws will hold a heavy curtain without any risk of slipping. Just seal the screw holes against moisture.
The Physics That Keeps Your Rod Secure
Understanding the mechanics behind a door curtain rod makes the difference between guessing and solving. The maximum weight a tension rod can hold isn’t a fixed number — it depends on the static coefficient of friction between the rubber pad and the casing surface, multiplied by the normal force the spring provides. Wood grain running vertically has a lower effective friction than raw MDF, and a glossy lacquer cuts the coefficient drastically. A spring that pushes with 20 pounds of force on a surface with a friction coefficient of 0.6 can theoretically hold 12 pounds of vertical load. Change the surface to polished metal with a coefficient around 0.2, and that same spring holds only 4 pounds. That math explains why the same rod performs differently on a painted wood casing than on a varnished one.
When you’re looking at a door opening that’s wider at the bottom, the rod’s weight amplifies its tendency to slide. The force vector that gravity applies to the rod is vertical, but the angled contact surface turns part of that force into a horizontal component that nudges the rod toward the wider gap. That’s why a simple paper shim folded into the rubber cup can increase friction enough to change the outcome. It’s the least expensive fix I’ve used across dozens of installations.
For readers tackling other window treatment challenges, the principles of measuring and mounting also apply to more complex shapes. Bay window curtain ideas often rely on the same attention to mounting surface and rod diameter, though the angles add another layer of planning. The same discipline — measure three times, mount once — carries through every curtain project.
Frequently Asked Questions
How do I pick the right size tension rod for my door opening?
Measure the inside width of the door casing at the top, middle, and bottom. Choose a rod whose compression range puts your tightest measurement nearer the shorter end of the rod’s span — that’s where spring pressure is highest. If your opening is 30 inches at the top and 30⅜ inches at the bottom, select a rod that adjusts from 26 to 42 inches, not one that starts at 28 and extends to 48 inches. The smaller minimum range means the spring compresses less and exerts more gripping force.
Why does my door curtain rod keep slipping down even after I tighten it?
Almost always, it’s a combination of door-frame taper and vibration. The jamb is wider at floor level, so the rod slowly walks downward with every impact. Even if you retighten it, the wider gap allows the spring to unload slightly. Wrap the rubber ends with a friction material like silicone tape, or install small L-clips below the rod to support the weight directly. If the door is used heavily, a fixed mounting bracket solves the problem permanently.
Can I install a curtain rod on a metal door without drilling?
Magnetic rods work only on magnetic steel doors. Test your door with a kitchen magnet — if it doesn’t hold strongly, a magnetic rod won’t either. For aluminum or fiberglass doors, non-drill solutions are limited. Some command-adhesive hooks can support a lightweight rod, but humidity and door motion often cause failure. Drilling and installing metal screw brackets is the most reliable method; just apply a dab of exterior-grade sealant over each screw head to prevent rust.
How do I keep a blackout curtain from sagging in the middle on a door rod?
Sagging happens when the rod diameter is too small for the span and weight. Use a rod at least 1 inch thick and consider a double-rod arrangement — one at the top, one at the bottom — to distribute the curtain’s weight. If the door style permits, a center bracket anchored into the door casing provides support, but many door rods can’t use a center bracket because the door leaf would hit it. Opting for a heavier gauge aluminum or a steel rod eliminates flex without adding bulk.
Even a humble door curtain rod intersects with other household hardware in ways people overlook. The same precision you’d apply to mounting a two door medicine cabinet — checking for square, drilling pilot holes, selecting the right anchor — directly improves a curtain rod install. When you treat the door frame as a working surface that moves, everything else falls into place.
