

An arched LED mirror changes how a room feels.
It combines the soft, rounded shape of an arch with built-in lighting that makes your reflection clear. I’ve mounted dozens of these mirrors in homes and bathrooms over the years. The first thing I always check is the hanging hardware. A 30-pound mirror needs solid anchors, not just drywall screws. This guide covers everything from selecting the right size to wiring the lights safely.
Key Takeaways
- Measure your wall space and consider the mirror’s weight before buying. Most arched LED mirrors weigh between 15 and 40 pounds, requiring appropriate wall anchors.
- Hardwired installation offers a cleaner look but requires electrical knowledge. Plug-in models are simpler for DIYers.
- Clean the mirror surface with a microfiber cloth and avoid abrasive cleaners to protect the LED strip and frame.
Why Choose an Arched LED Mirror
The arched shape softens a room. Straight lines dominate most bathrooms and entryways. An arched LED mirror adds a curve that breaks up the harsh angles. The integrated LED lighting provides even illumination without the shadows cast by overhead lights.
It can be installed in a hallway. The effect on the space comes from the warm light of the LEDs. The warm light from the LEDs is what makes a narrow corridor feel wider and more welcoming. This type of mirror works well in bathrooms, bedrooms, and living areas.
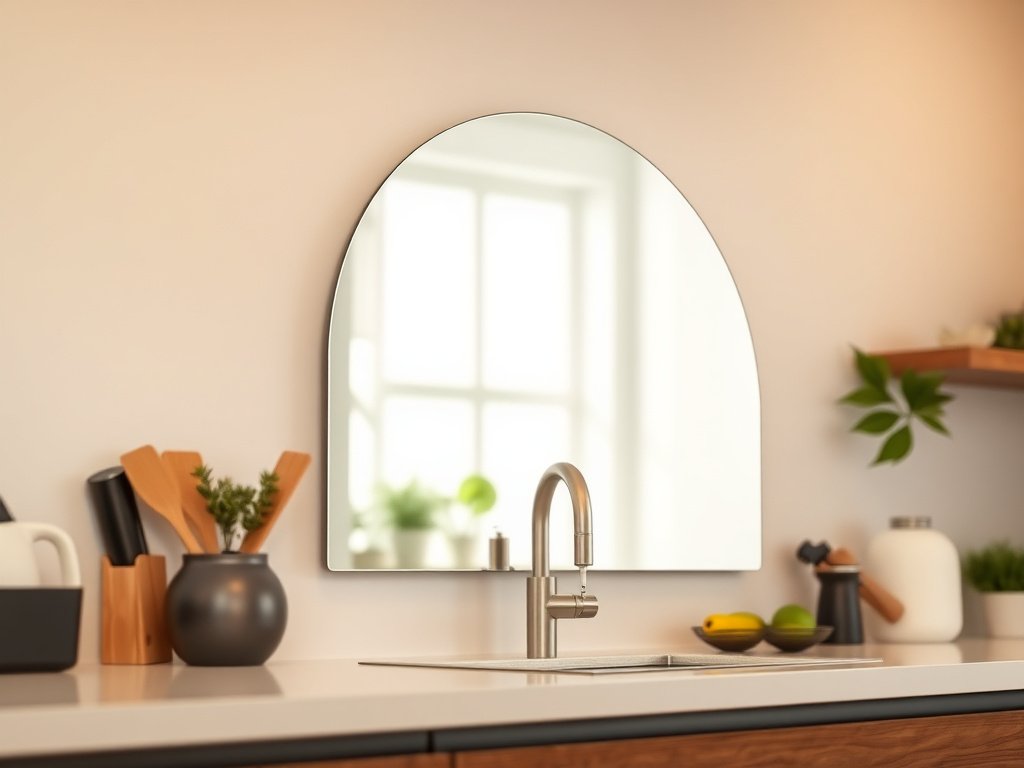
Measuring for Your Arched LED Mirror
Before you buy an arched LED mirror, measure the wall space carefully. You need the width and height of the area where the mirror will hang. Leave at least 4 inches of clearance on each side and above the arch. This prevents the mirror from feeling cramped.
Standard widths for these mirrors range from 24 inches to 48 inches. Heights vary from 36 inches to 60 inches. For a bathroom vanity, the mirror should be slightly narrower than the vanity top. A 36-inch wide mirror works well over a 48-inch vanity.
Mounting the Mirror Safely
Gather Your Tools
You will need a stud finder, a level, a drill, appropriate drill bits, wall anchors, and screws. If the mirror is hardwired, you also need wire strippers, a voltage tester, and electrical tape. For plug-in models, a nearby outlet is essential.
Check the mirror’s mounting bracket type. Most arched LED mirrors come with a French cleat or keyhole brackets. French cleats distribute weight evenly and are easier to level. Keyhole brackets require precise measurements.
Mark and Drill
Hold the mirror up to the wall at the desired height. Use a pencil to mark the top edge. Then, remove the mirror and measure the distance between the bracket holes. Transfer those measurements to the wall, making sure they are level.
Drill pilot holes at your marks. Insert wall anchors if you are not drilling into studs. Tap them in gently with a hammer until they are flush with the wall surface. Then, screw the mounting screws into the anchors, leaving about 1/4 inch exposed.
Hang the Mirror
Lift the mirror and align the bracket with the screws. For a French cleat, slide the mirror down until it locks into place. For keyhole brackets, slide the mirror over the screw heads and let it settle. Double-check that the mirror is level before letting go completely.
Wiring the LED Lights
Arched LED mirrors come in two wiring types: plug-in and hardwired. Plug-in mirrors are simpler. You just hang the mirror and plug the cord into a nearby outlet. Some mirrors have a cord cover that hides the wire against the wall.
Hardwired mirrors connect directly to your home’s electrical system. This gives a cleaner look with no visible cords. However, it requires knowledge of basic electrical work. If you are not comfortable working with electricity, hire a licensed electrician.
For hardwired installation, turn off the power at the breaker box. Remove the existing light fixture if there is one. Connect the mirror’s wires to the house wires using wire nuts: black to black, white to white, and green or bare copper to ground. Secure the connections with electrical tape and tuck them into the electrical box.
Adjusting the Light Settings
Most arched LED mirrors have a touch sensor or a switch that controls the light. Common settings include on/off, brightness levels, and color temperature. Color temperature ranges from warm (3000K) to cool (6500K). Warm light is flattering for makeup application. Cool light is better for task lighting.
To adjust brightness, tap and hold the sensor. The light will cycle through levels. Some mirrors also have a memory function that remembers your last setting. This saves you from readjusting every time you turn it on.
Maintaining Your Arched LED Mirror
Clean the mirror surface with a microfiber cloth and a mild glass cleaner. Spray the cleaner onto the cloth, not directly onto the mirror. Excess moisture can seep into the LED strip and cause damage. Wipe in a circular motion to avoid streaks.
Check the mounting screws every six months. Vibration from doors or foot traffic can loosen them over time. Tighten them gently if needed. Also, inspect the LED strip for any dark spots. A single failed LED can sometimes be replaced, but many mirrors have sealed units that require professional service.
Frequently Asked Questions
Can an arched LED mirror be used in a high-humidity bathroom?
Yes, but check the mirror’s IP rating first. An IP44 rating or higher means the mirror is protected against splashes and steam. Bathrooms with showers need at least IP44. For a bathroom with only a sink, IP44 is sufficient. Lower ratings are fine for dry areas like bedrooms or hallways.
How do I know if my wall can support the weight of an arched LED mirror?
Use a stud finder to locate wooden studs behind the drywall. A 30-pound mirror hung on drywall alone needs heavy-duty toggle bolts or molly bolts rated for at least 50 pounds. If your wall is brick or concrete, use masonry anchors. Always follow the manufacturer’s weight recommendations.
What should I do if the LED lights stop working?
First, check the power source. If it is a plug-in model, test the outlet with another device. For hardwired mirrors, check the breaker switch. If the power is fine, the LED driver may have failed. Some drivers are replaceable. Contact the manufacturer for a replacement part. Do not attempt to open the sealed LED strip yourself.

