
Ever walk into your house and just… stop?
That’s what happened to me last year. I opened my bedroom door and couldn’t even see my dresser under all the stuff. Clothes everywhere. Papers stacked on every surface. Random things I’d been meaning to “deal with later” for months.
I stood there thinking, “How did it get this bad?”
Here’s what I’ve learned since then. Learning how to declutter your home room by room doesn’t have to feel like climbing Mount Everest in flip-flops.
You don’t need to be some naturally organized person. You don’t need a whole weekend free. You just need a plan that actually makes sense.
I’m going to show you exactly how I transformed my chaotic house into a space I actually want to come home to. We’ll go one room at a time. No overwhelm. No pressure. Just real strategies that work.
Why does tackling one room at a time work so well?
Because it gives your brain a break.
Instead of staring at your entire house thinking “where do I even start,” you’ll know exactly what to do next. You’ll know what stays. What goes. And why.
Throughout this guide, I’ll share what worked for me in every major room. The quick wins that took minutes. The storage tricks that changed everything. And the honest truth about what didn’t work (so you don’t waste your time).
Whether your bedroom looks like a laundry bomb exploded, your kitchen counters have disappeared under mystery piles, or your garage has officially become a storage unit.. I’ve been there.
The best part?
You don’t need fancy organizing products. You don’t need a whole day. You just need to start somewhere.
Ready? Let’s do this.
1. Start with a Clear Decluttering Goal
Before you touch anything, ask yourself this: Why am I doing this?
I’m serious. Write it down.
My reason? I was tired of losing my keys every single morning. Tired of feeling stressed the second I walked through the door. Tired of spending weekends cleaning instead of actually living.
Your reason might be different. Maybe you want more space. Maybe you’re tired of buying things you already own but can’t find. Maybe you just want to breathe easier in your own home.
Whatever your reason, write it down somewhere you’ll see it.
Stick it on your fridge. Make it your phone background. I taped mine to my bathroom mirror so I’d see it every morning.
Here’s the thing about goals though.
Don’t aim for perfection. That magazine-perfect house you see on Pinterest? Those people have professional organizers. And probably don’t have kids. Or pets. Or, you know, actual lives.
Progress beats perfection every single time.
Cleared one drawer today? That’s a win. Seriously. Celebrate it.
Give yourself a realistic timeline too. Maybe you’ll tackle one room each weekend. Maybe you’ll do 15 minutes every evening after dinner. I started with just 10 minutes before bed.
The timeline doesn’t matter. Consistency does.
2. Gather Your Decluttering Supplies
You know what’s funny? I wasted three hours researching “the best organizing products” before I started decluttering.
Then I realized I already had everything I needed.
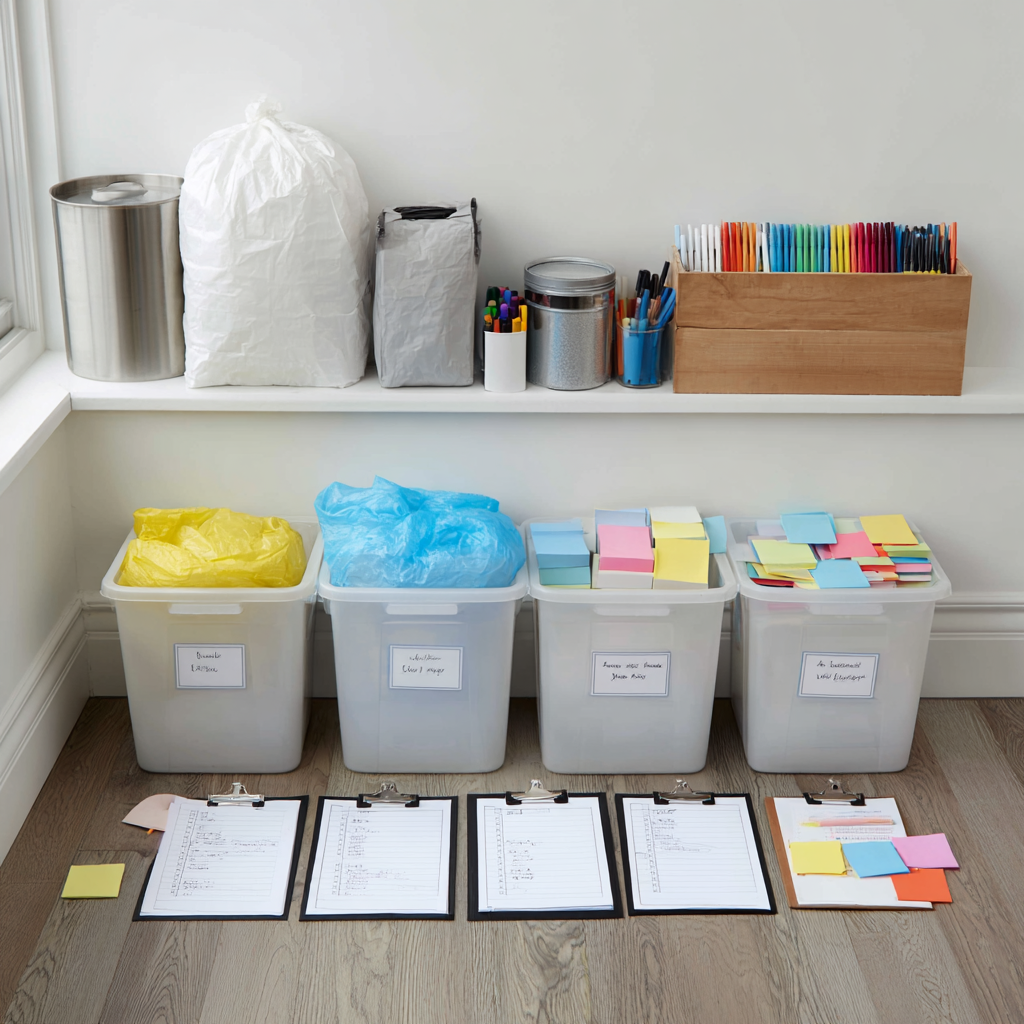
Here’s what you actually need:
- Cardboard boxes (four of them)
- Heavy-duty trash bags
- A permanent marker
- Sticky notes
That’s it. Nothing fancy. No great value organizing system required.
I labeled my four boxes: Keep. Donate. Trash. Relocate.
This system saves your brain from making the same decisions over and over. You pick up an item. You put it in a box. Done. Next item.
Want to know what else helps? Keep your kit ready to go.
I keep mine in a corner of my bedroom. That way, when I have energy to declutter (which honestly isn’t every day), I can just grab it and start. No prep work. No excuses.
Add these to your kit too:
- All-purpose cleaner
- Microfiber cloths
- Maybe a small vacuum
Because once you clear away clutter, you’ll want to clean those surfaces. Trust me on this one.
One more thing. Set a timer on your phone.
I use 15-minute blocks. When the timer goes off, I can stop guilt-free. Sometimes I keep going because I’m on a roll. Sometimes I stop and come back tomorrow.
Both are fine.
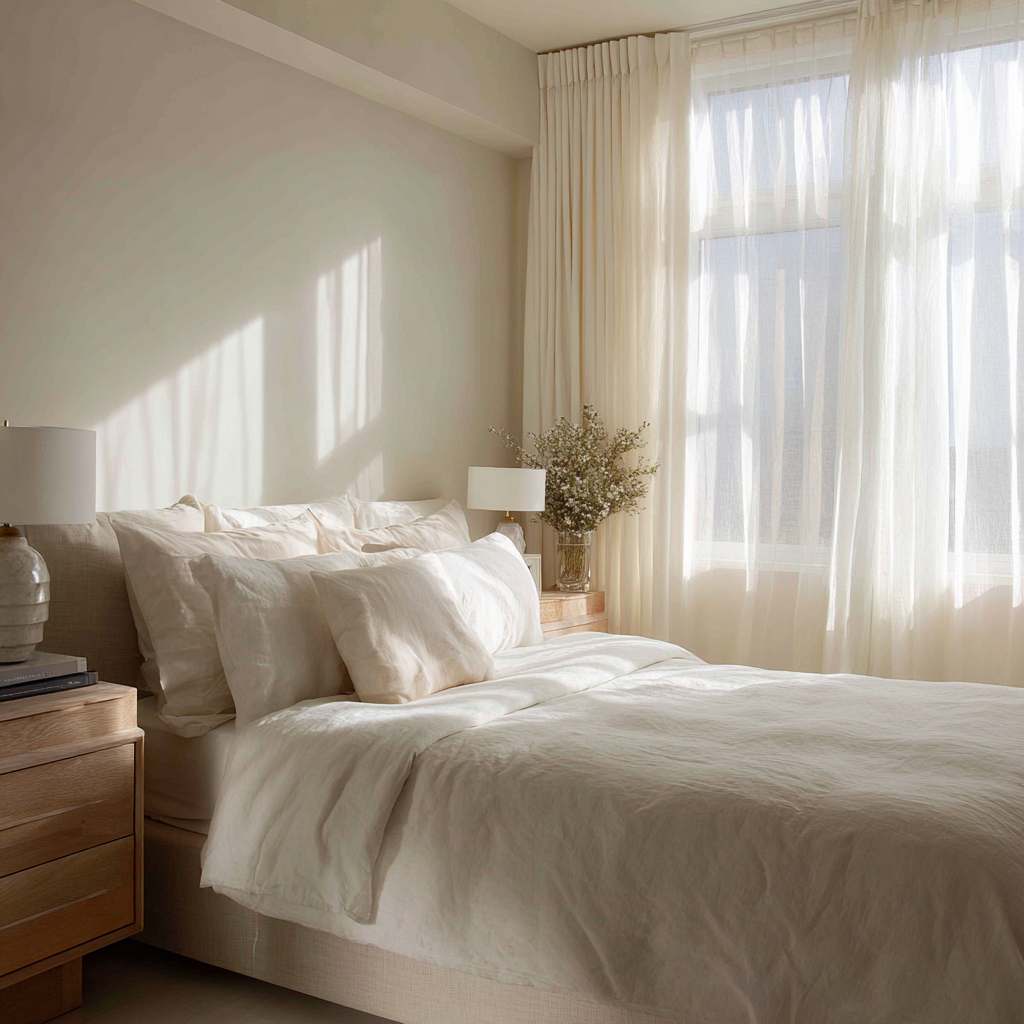
3. Declutter Your Master Bedroom First
Your bedroom should help you sleep. Not stress you out.
I always tell people to start here. You know why? Because when you wake up to a calm, clutter-free bedroom, everything else feels more manageable.
I used to have workout equipment in my bedroom. A pile of “clothes I might wear.” Stacks of books I kept meaning to read. Work documents on my nightstand.
Then I couldn’t figure out why I had trouble sleeping.
Here’s what changed everything for me: Remove anything that doesn’t support rest.
Work stuff? Out. Exercise equipment? Belongs somewhere else. Laundry piles? Nope.
What stayed near my bed:
- One book (just one)
- A glass of water
- My phone charger
- Hand lotion
That’s it.
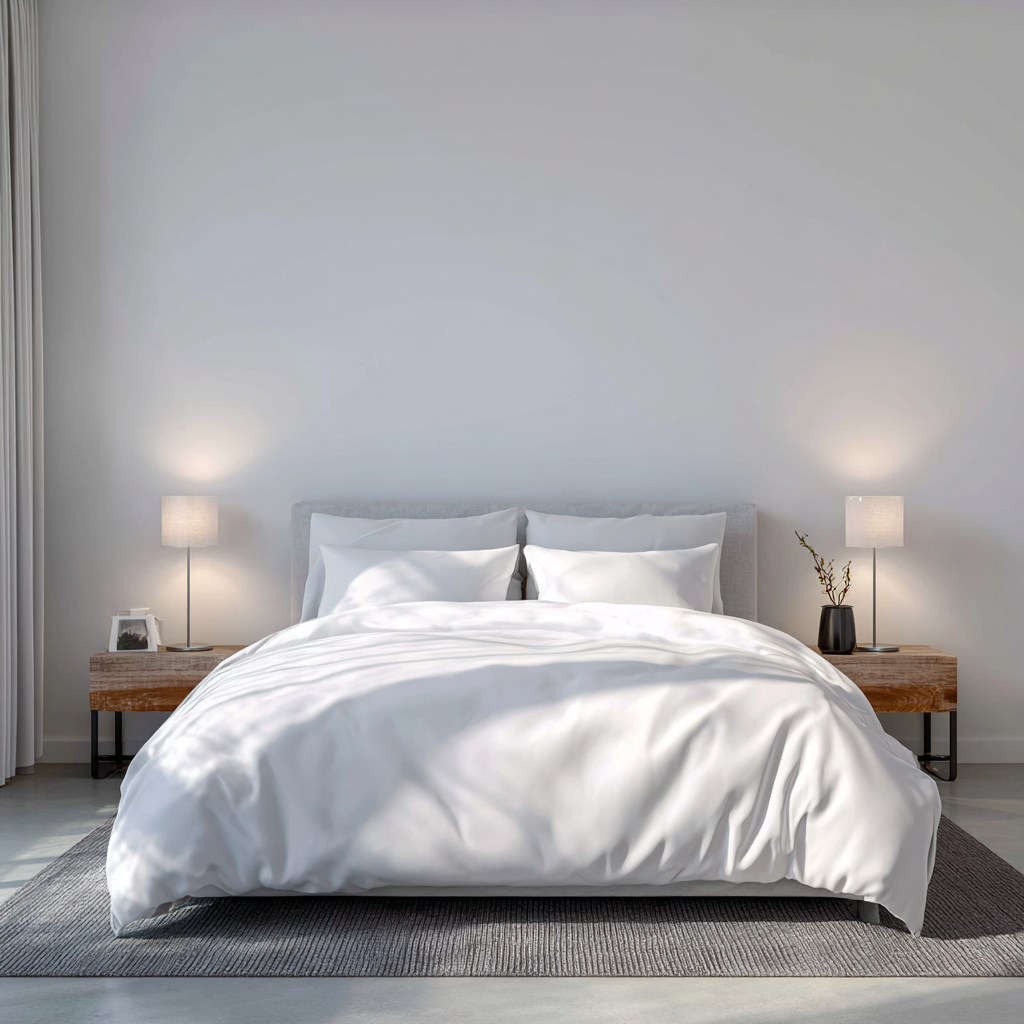
Clear your nightstands completely. I mean everything off. Then only add back what you use every single night.
The first time I did this, I couldn’t believe the difference.
My bedroom felt bigger. Calmer. Like an actual place to rest instead of another room full of tasks.
You’ll be shocked how much better you sleep when your nightstand isn’t covered in random stuff competing for your attention.
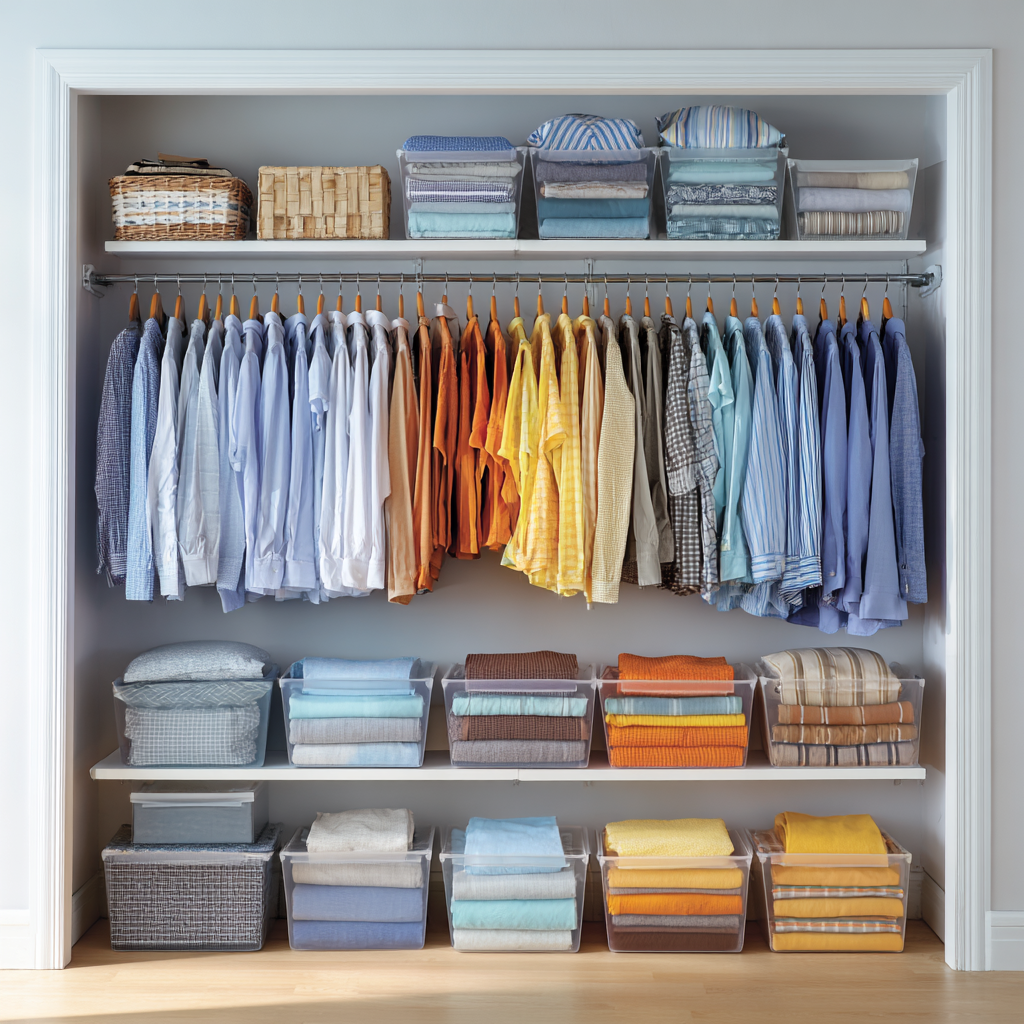
4. Tackle the Bedroom Closet
Let me tell you something embarrassing.
I owned 47 t-shirts. Forty-seven. I wore maybe 10 of them regularly. The rest? Just taking up space and making me feel guilty every time I opened my closet.
Sound familiar?
Most of us wear about 20% of our clothes 80% of the time. Think about it. You probably have favorite pieces you reach for constantly. Then there’s everything else just.. hanging there.
Try this trick that changed my closet forever:
Turn all your hangers backward. Right now. All of them.
Then, as you wear items and wash them, turn those hangers forward. After three months, look at what’s still backward.
You haven’t worn those clothes in three months. You’re not going to.
Donate them.
This removes all the emotional decision-making. No more “but what if I need this someday.” The hangers don’t lie.
Here’s another hard truth I had to face:
Those “skinny jeans” from five years ago? Let them go.
I held onto clothes that didn’t fit for years. You know what they did? Made me feel bad every single time I looked at them.
If your body changes later, you can shop then. Right now? Fill your closet with things that make you feel amazing today.
Not someday. Today.
5. Clear Out Bedroom Drawers and Surfaces
Bedroom drawers are where random things go to die.
I found three expired bottles of ibuprofen in my nightstand drawer. Three. Also a phone charger from 2016. Dead batteries. Receipts from who knows when. And this random key I still don’t know what it opens.
Empty every single drawer. Put it all on your bed so you have to deal with it.
Ask yourself three questions about each item:
- Do I use this?
- Do I love this?
- Would I buy this again today?
If you answer no to all three? It goes.
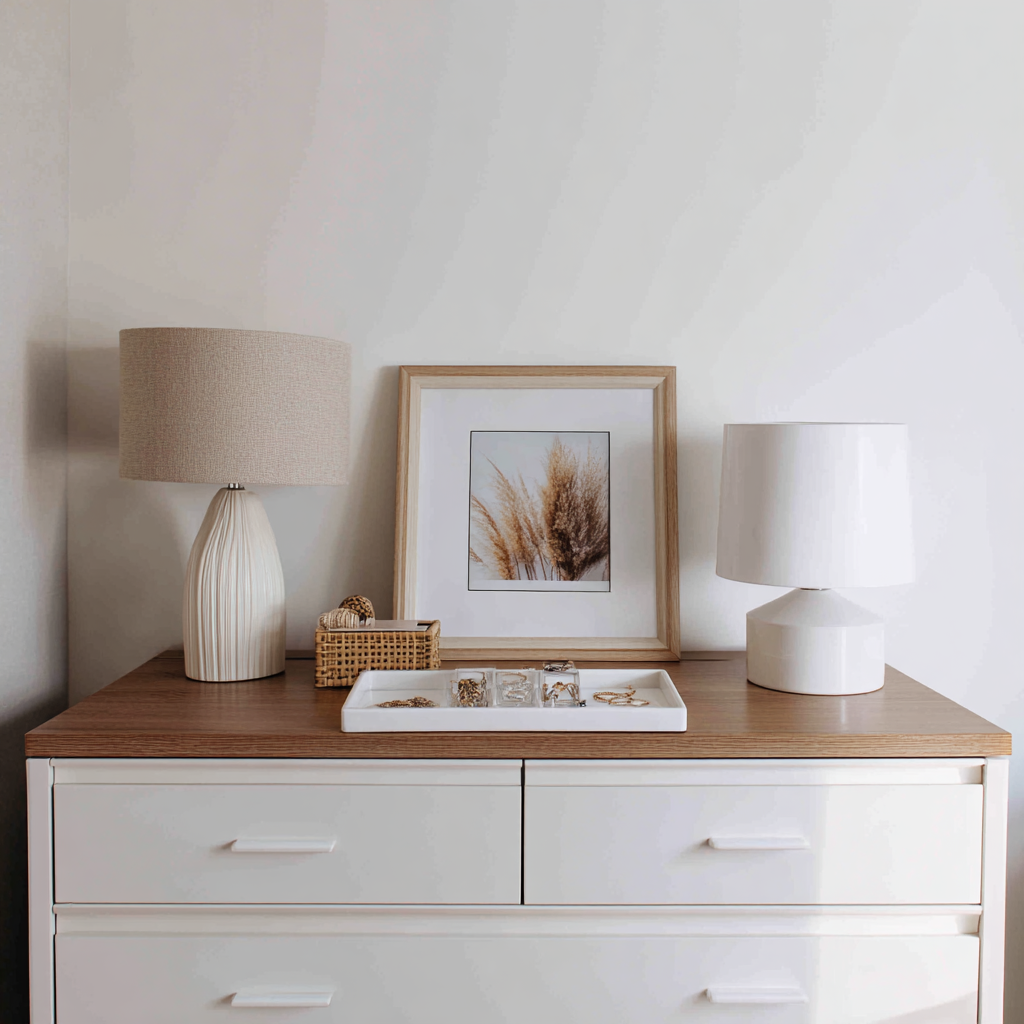
My dresser top used to hold everything. Loose change. Random papers. Jewelry I never wore. Half-empty water bottles. A collection of hair ties.
Now? I keep three things on my dresser:
- A jewelry box
- One photo frame
- A small plant
That’s it.
You know what’s wild? Dusting takes about 30 seconds now. And my bedroom actually feels peaceful instead of like another place I need to “deal with.”
Your nightstand drawers need the same treatment.
I threw out so much expired medication. So many tangled chargers for devices I don’t even own anymore. Mystery items I couldn’t identify.
Keep only what you use before bed or first thing in the morning. Everything else? Belongs somewhere else.
6. Simplify Your Kitchen Counters
Kitchen counters are clutter magnets.
I don’t know how it happens. One day your counters are clear. The next day? Mail. School papers. Random gadgets you used once. That thing you’re going to “deal with later.”
My kitchen counter used to stress me out every single morning.
Here’s what I did that changed everything: I removed absolutely everything from my counters.
Yes. Everything.
Then I only put back what I use daily. For me, that’s my coffee maker and a knife block. That’s it.
You might need one small appliance. Fine. But be honest. Do you really use that bread maker every day? Or does it just sit there making you feel guilty?
Here’s a game-changer:
Create a landing zone for stuff that naturally migrates to the kitchen. I use a basket near my door for mail and keys.
This contains the clutter in one spot instead of spreading across my entire counter.
Small appliances you rarely use? Store them.
I make smoothies about twice a month. My blender does not need counter space. It lives in my pantry now. My counters can actually breathe.
Cooking became so much easier when I had actual workspace. Who knew?
7. Organize Kitchen Cabinets and Drawers
Kitchen cabinets hide scary amounts of stuff.
I opened mine and found three can openers. Why did I need three? I didn’t. I also found a bread maker I used once in 2019. Serving dishes for parties I never host. And this weird gadget I couldn’t even identify.
Start with one cabinet. Just one.
Pull everything out. Check expiration dates on spices (mine had some from 2017.. yikes). Look for chipped dishes. Find appliances gathering dust.
Be ruthless here.
That panini press you got as a wedding gift? If you haven’t used it in a year, someone else will actually use it. Donate it.
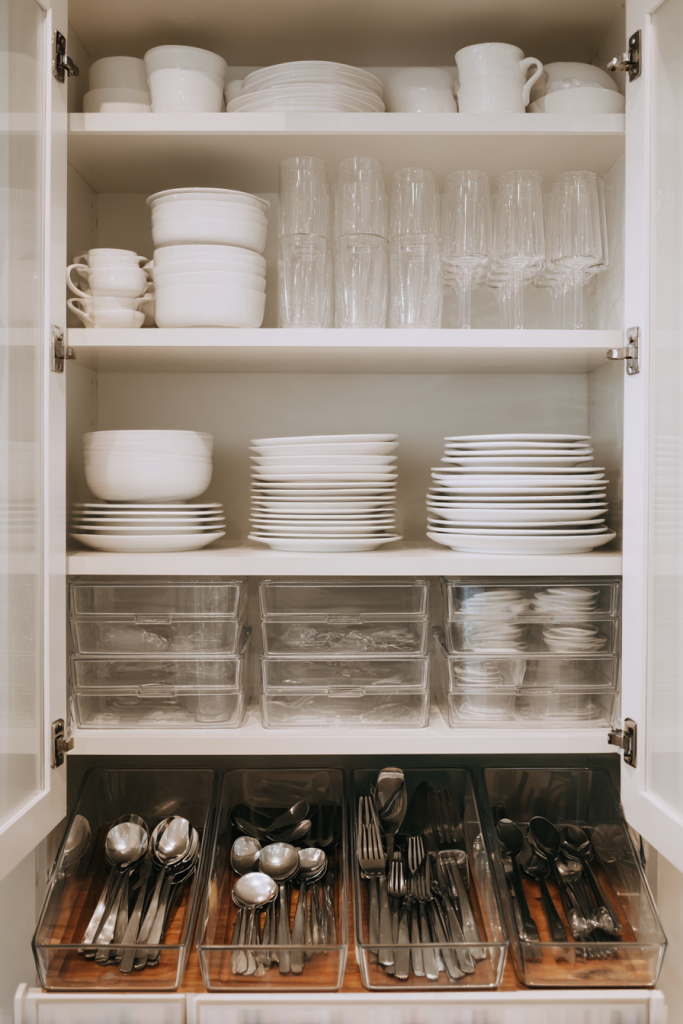
Group similar items together:
- All baking supplies in one spot
- Breakfast items together
- Dinner dishes near the dishwasher
This sounds simple. But it changed how I cook.
I used to dig through three cabinets looking for measuring cups. Now? Everything’s where it makes sense. Cooking flows naturally instead of feeling like a scavenger hunt.
Invest in simple drawer organizers.
Nothing fancy. Just basic dividers. This prevents the junk drawer where everything becomes a tangled nightmare.
You know that drawer. The one where you can never find scissors because they’re buried under random takeout menus and mystery keys.
Organize it once. Your future self will thank you every single day.
8. Declutter Your Pantry Effectively
Pantry clutter costs you actual money.
I realized this when I bought pasta three weeks in a row because I couldn’t see I already had six boxes. Or when I found expired canned goods I’d completely forgotten about.
That’s literally throwing money away.
Pull everything out of your pantry. Yes, everything.
Check every single expiration date. I found things expired two years ago. Two years. Just sitting there taking up space.
Toss anything past its prime. Anything stale. Anything your family won’t eat.
Be honest here. Those healthy snacks you bought to “eat better”? The ones nobody touches? Let them go.
Group foods by category before putting them back:
- Canned goods together
- Pasta and grains in another section
- Snacks in their own area
This system lets you see what you have at a glance. No more buying duplicates.
Use clear containers for dry goods.
I bought a bunch from the dollar store. Nothing fancy. But seeing my inventory changed everything. I stopped overbuying. I stopped wasting food.
Plus, uniform containers just look better. They maximize shelf space. And they keep things fresh longer.
Label everything. Even if you live alone. Trust me. Future you won’t remember which container has rice versus quinoa.
9. Clean Out the Refrigerator and Freezer
Your fridge needs decluttering too.
Mystery leftovers. Expired condiments. That produce hiding in your crisper drawer that you forgot existed.
I found a container of leftovers so old I genuinely couldn’t identify what it used to be. The smell when I opened it? Let’s not talk about that.
Empty your fridge completely once a month.
I do this the night before trash day. That way, anything gross goes straight to the outdoor bin.
Toss anything moldy. Anything expired. Anything unidentifiable. While it’s empty, wipe down all the surfaces.
This prevents odors. Keeps everything visible. And honestly? It feels amazing.
Use bins to organize similar items:
- One for dairy
- Another for drinks
- Maybe one for snacks
I got cheap plastic bins from the dollar store. They keep things contained. Items don’t get lost in the back anymore.
Your freezer needs the same treatment.
Those frost-covered mystery meals from six months ago? Time to go.
I now label everything that goes in my freezer with the date. Takes two seconds. Saves so much waste.
A decluttered freezer means you actually use what you have instead of constantly buying more.
10. Organize Under the Kitchen Sink
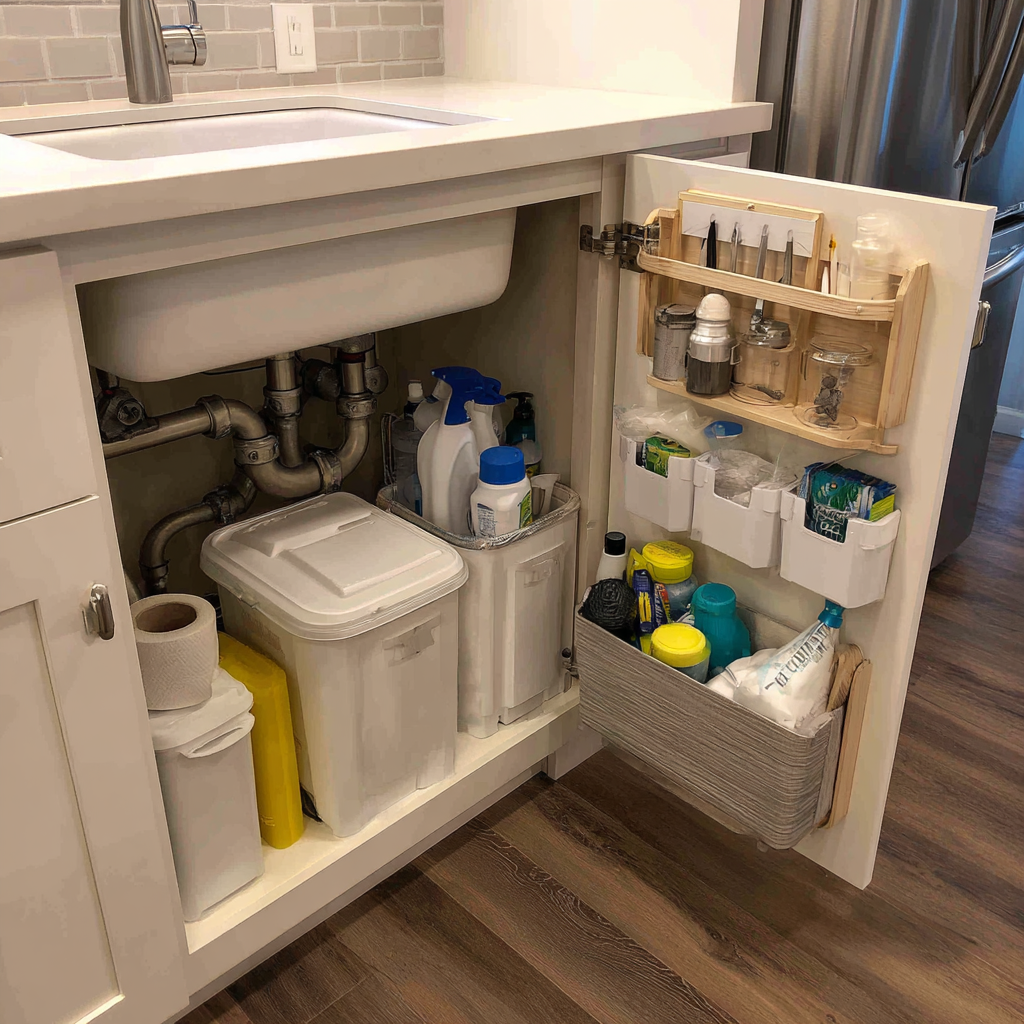
Under-sink cabinets are where cleaning supplies go to die.
I opened mine and found four half-empty bottles of the same cleaner. Also dried-up sponges. Products I bought once and hated. And bottles so old the labels had fallen off.
Pull everything out first.
Cleaning products do expire. Check dates. Toss dried-up sponges. Throw out products you never use.
If you bought something and hate using it? Don’t keep it out of guilt. Someone else might love it. Or just toss it.
Use a caddy for cleaning supplies.
This changed my cleaning routine. I just pull out the whole caddy instead of grabbing individual bottles. Everything’s portable. Nothing spills.
Game changer.
Store dish soap and sponges in a small basket near the front. Keep stuff you use daily easily accessible.
Less-used items can go toward the back. This simple arrangement makes daily tasks so much smoother.
Add a small trash bag holder if you have space. It keeps bags contained instead of taking up a whole shelf.
11. Declutter the Dining Room or Eating Area
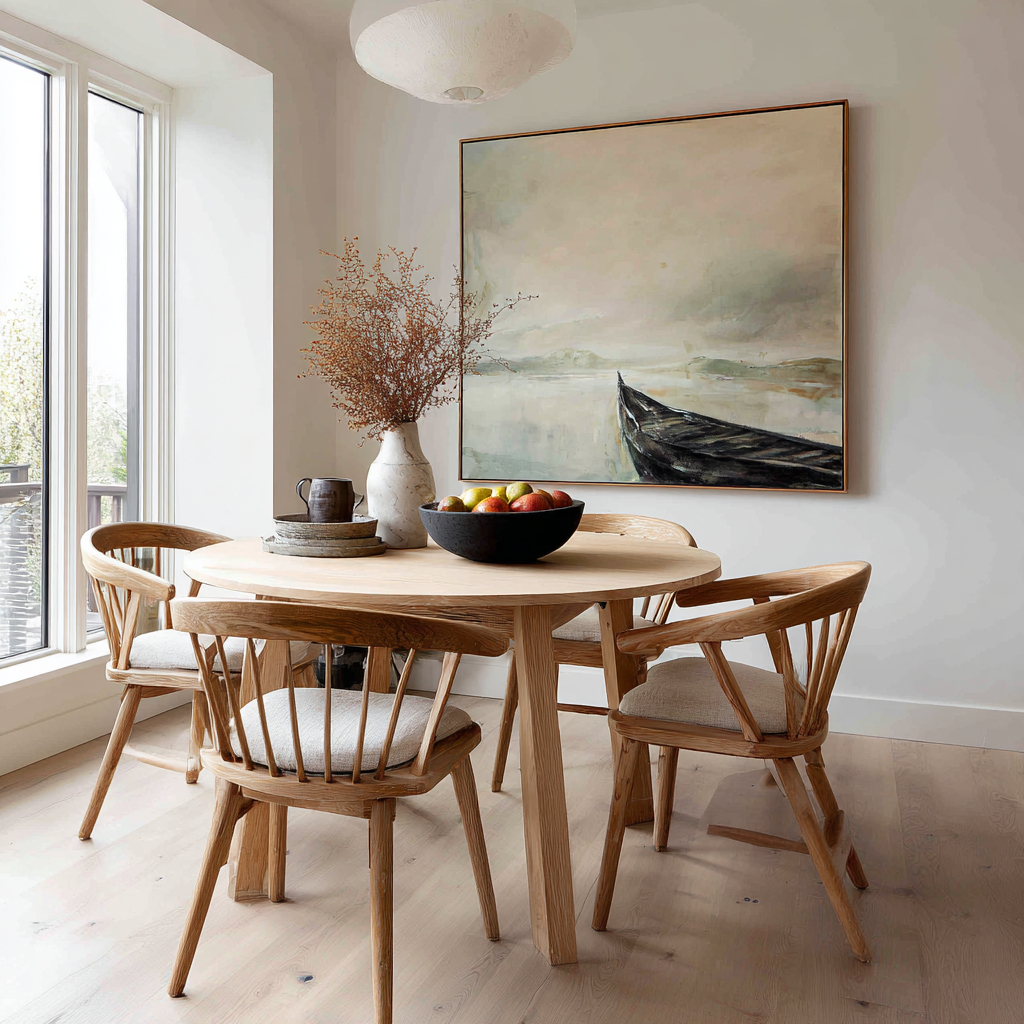
My dining table used to be where everything landed.
Mail. Homework. Craft projects. Random stuff from the car. Keys. Bags. Everything except, you know, actual meals.
Sound familiar?
Clear your table completely.
Remove everything that isn’t meal-related. Papers belong elsewhere. Projects need their own space. Random items have other homes.
Your table should be ready for a meal at any moment. No clearing clutter first.
This simple change made our family actually eat together more. Because sitting down didn’t require 20 minutes of cleanup first.
Limit furniture in this room.
Extra furniture just creates more surfaces for clutter to land on. I got rid of a side table that was just collecting junk.
Now we have: a table, chairs, and a small buffet. That’s it.
Less furniture means less to maintain. The room feels more spacious. And there are fewer places for clutter to hide.
Store only dining essentials here:
- Table linens
- Serving dishes
- Centerpiece items
Everything else? Taking up valuable space.
If you need a mail station, put it near the entrance. Not on your dining table.
12. Organize the Living Room or Family Room
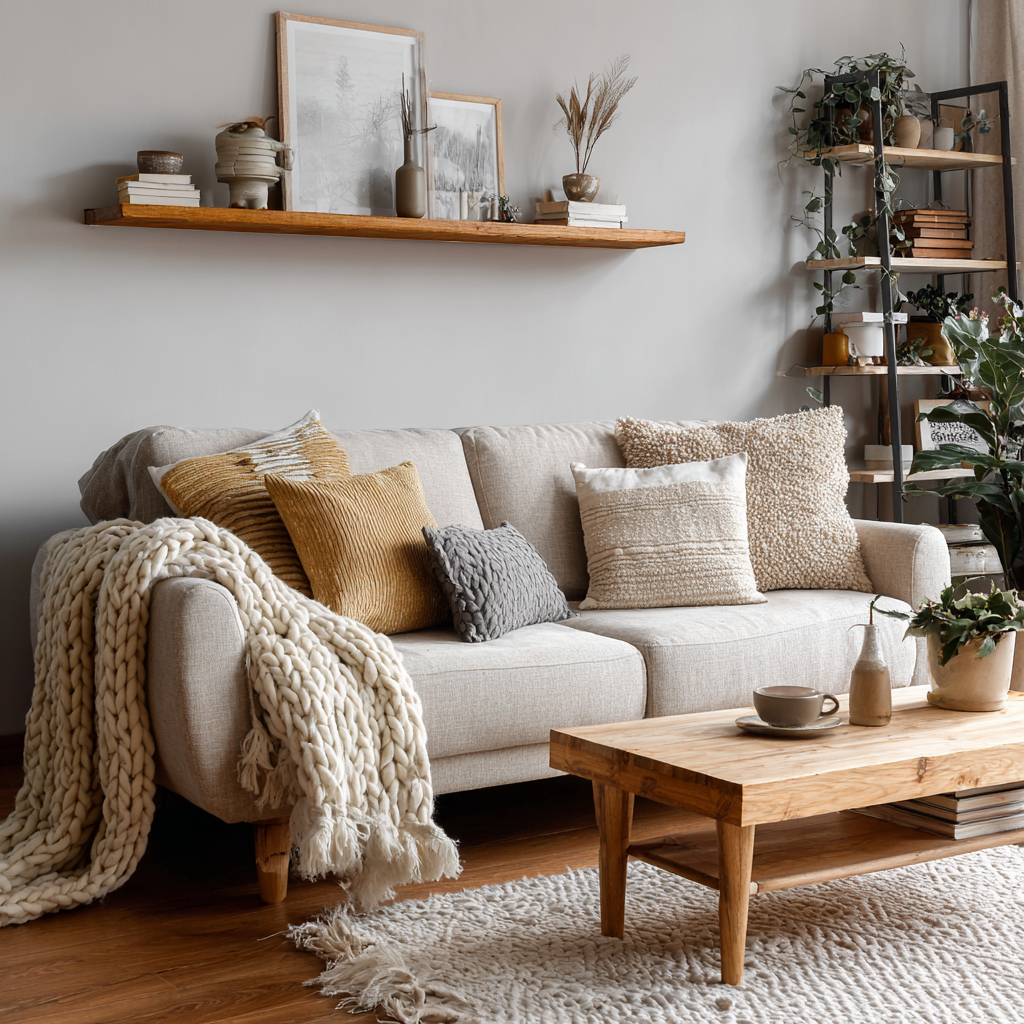
Your living room should invite relaxation.
Mine used to stress me out. Coffee table covered in stuff. Side tables piled high. Books and magazines everywhere. Toys scattered across the floor.
I’d come home from work and just feel.. tired looking at it.
Clear coffee tables and side tables.
My coffee table now has one plant on it. That’s it. Sometimes a book I’m currently reading.
Side tables? A lamp. Maybe a coaster.
Everything else made the space feel chaotic. I didn’t realize how much visual noise affected me until it was gone.
Tackle your entertainment center next.
I went through our DVDs and got rid of 80% of them. We stream everything now anyway. Who was I kidding?
Books I never read? Donated. Games we never play? Gone.
Open shelving looks better with breathing room. Not crammed full of stuff.
Display only your actual favorites. Store or donate the rest.
If you have kids, use baskets for toys.
We have two baskets that match our decor. At the end of each day, toys go in the basket.
This system keeps toys under control without making our living room look like a daycare.
The rule? If the baskets are full, we donate some toys to make room.
13. Simplify Bathroom Counters and Cabinets

Bathroom counters shouldn’t look like Sephora exploded.
Mine did though. Makeup everywhere. Hair products. Skincare stuff I tried once. Samples from hotels. Random bottles I couldn’t even identify.
Keep only daily essentials visible.
My counter now has: hand soap, a lotion dispenser, and a small plant.
That’s it.
Everything else lives in drawers or cabinets. This makes the bathroom feel like a spa instead of a storage area.
Go through all cosmetics and toiletries.
Toss anything expired. Old makeup can harbor bacteria. When in doubt, throw it out.
I found makeup from high school in my drawer. I’m 34. That needed to go about 15 years ago.
Dried-out mascara? Toss. Products you don’t use? Donate or trash.
Under-sink cabinets need the same treatment.
Remove duplicate products. Nearly empty bottles. Cleaning supplies you never use.
I had three bottles of the same shampoo I didn’t even like. Why was I keeping them?
Use bins to group similar items. This prevents the chaotic jumble that happens over time.
Cleaning the bathroom takes five minutes now. Because there’s no stuff everywhere.
14. Organize Bathroom Drawers and Shower
Bathroom drawers hide so much stuff.
Hair ties from five years ago. Dried-up nail polish. Travel-size products you’ll never use. Samples you keep “just in case.”
Just in case what? I still don’t know.
Empty each drawer completely.
Sort everything into categories: makeup, hair care, skincare, first aid.
Toss anything old. Broken. Unused.
Be honest about products you keep meaning to use but never do. I had these face masks I bought two years ago. Never used them once. They expired. What a waste.
Use drawer organizers.
Even simple dividers make a huge difference. Things stop sliding around. Categories stay separated.
I can actually find things now. Revolutionary.
Shower organization matters too.
Keep only products you actually use in there. I counted 11 bottles in my shower once. Eleven.
I used three of them regularly.
The rest? Old products I didn’t like. Half-empty bottles. Samples I kept meaning to try.
Now I have three bottles in a hanging caddy. Shampoo. Conditioner. Body wash.
The shower feels bigger. Cleaning is easier. And I’m not playing Tetris with bottles every time I need to reach something.
15. Clean Out the Linen Closet
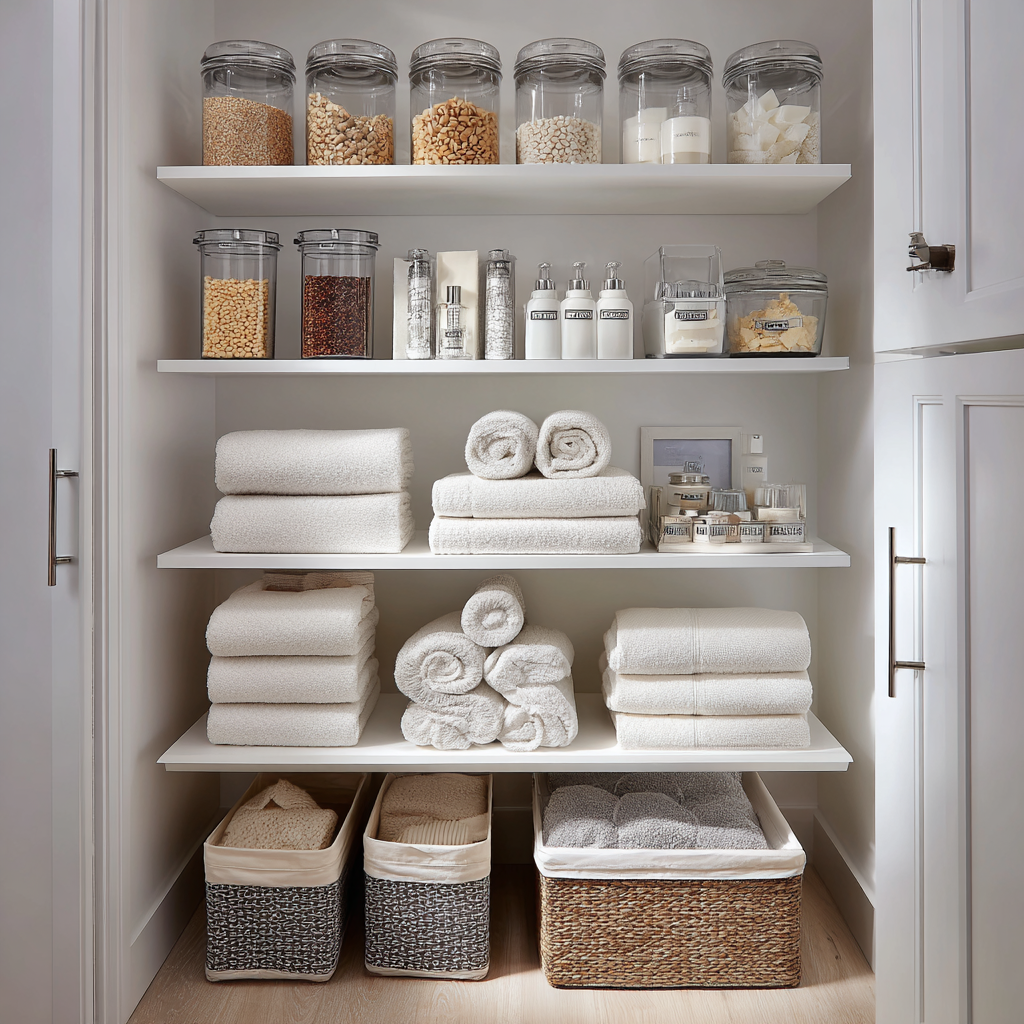
Linen closets become catchalls for everything.
Towels. Sheets. Toiletries. Medications. Cleaning supplies. Random household items. That thing you don’t know what to do with.
Mine was chaos.
Remove everything and sort into categories.
Separate towels, sheets, blankets, and miscellaneous items. This shows you exactly what you have.
I had 23 towels for two people. Twenty-three. Why did we need 23 towels?
Follow the “one sheet set per bed” rule.
One set on the bed. One in the closet. That’s all you need unless you have specific reasons for more.
I applied this to towels too. Kept enough for everyone plus a few extras for guests.
Donated the rest.
Here’s a trick that changed my life:
Store sheet sets inside one of their pillowcases. The whole set stays together.
No more digging through the closet trying to find matching sheets. No more mystery pillowcases.
Everything’s contained in one neat package.
Label shelves if it helps. My husband actually puts things back correctly now because he knows where they go.
Miracles do happen.
16. Declutter the Home Office or Desk Area
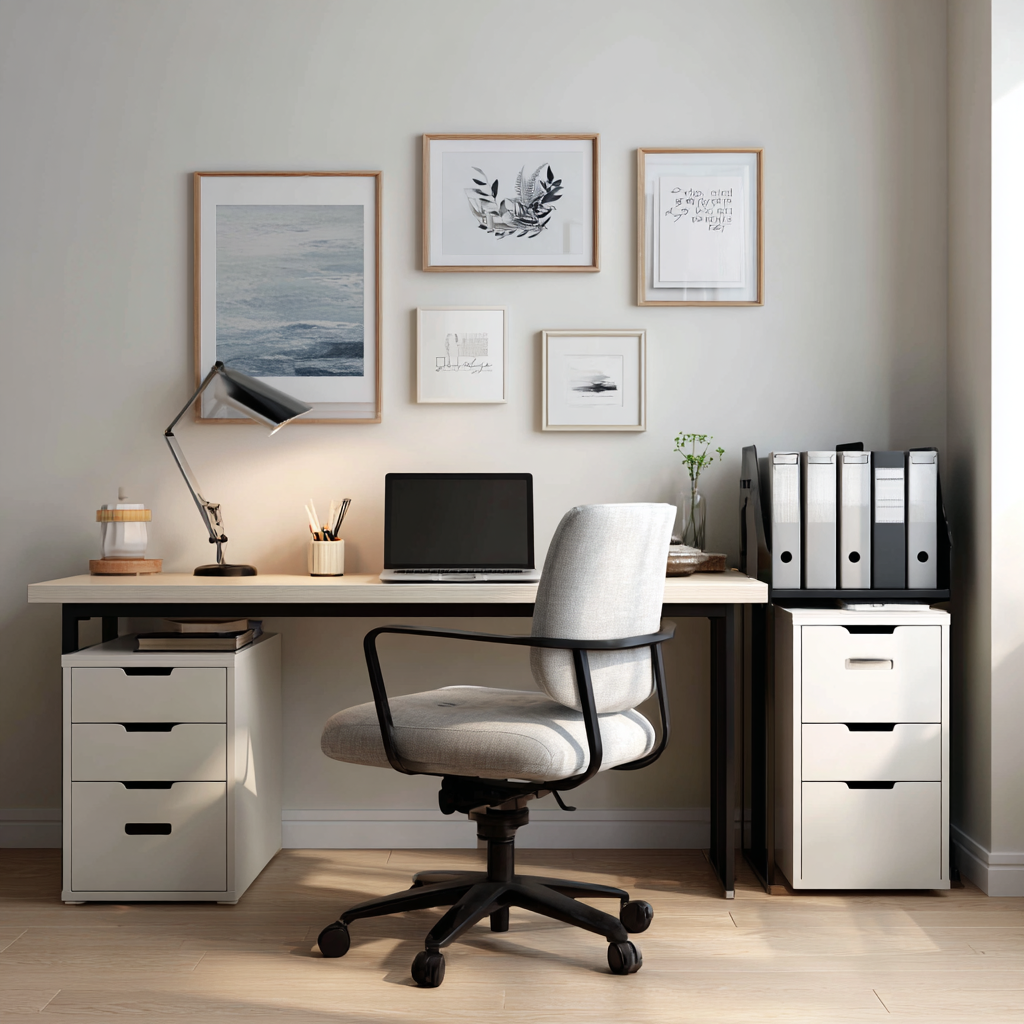
Paper clutter stresses me out more than anything else.
Bills. Receipts. School papers. Random documents. Forms. Manuals. Warranties. It just keeps coming.
I used to have piles everywhere. Couldn’t find anything when I needed it. Missed bill payments. Lost important documents.
Finally, I created a system.
Sort all paper into four categories:
- Action needed (do this immediately if possible)
- File (important documents)
- Recycle (most papers, honestly)
- Shred (anything with personal info)
Most papers can be recycled. Seriously. That flyer from three weeks ago? Recycle. Old receipts? Recycle. Junk mail? Straight to recycling.
Set up a simple filing system.
I keep current year finances in one folder. Medical records in another. Warranties and manuals together.
Archive older years in a box in the closet if you need to keep them.
Limit what’s on your desk surface.
My desk has: my laptop, a lamp, and a pen holder. Maybe one inspirational item.
Everything else creates visual clutter. Makes it hard to focus.
Drawers exist for a reason. Use them.
A clear desk equals a clear mind. Sounds cheesy. But it’s true.
17. Organize the Entryway or Mudroom
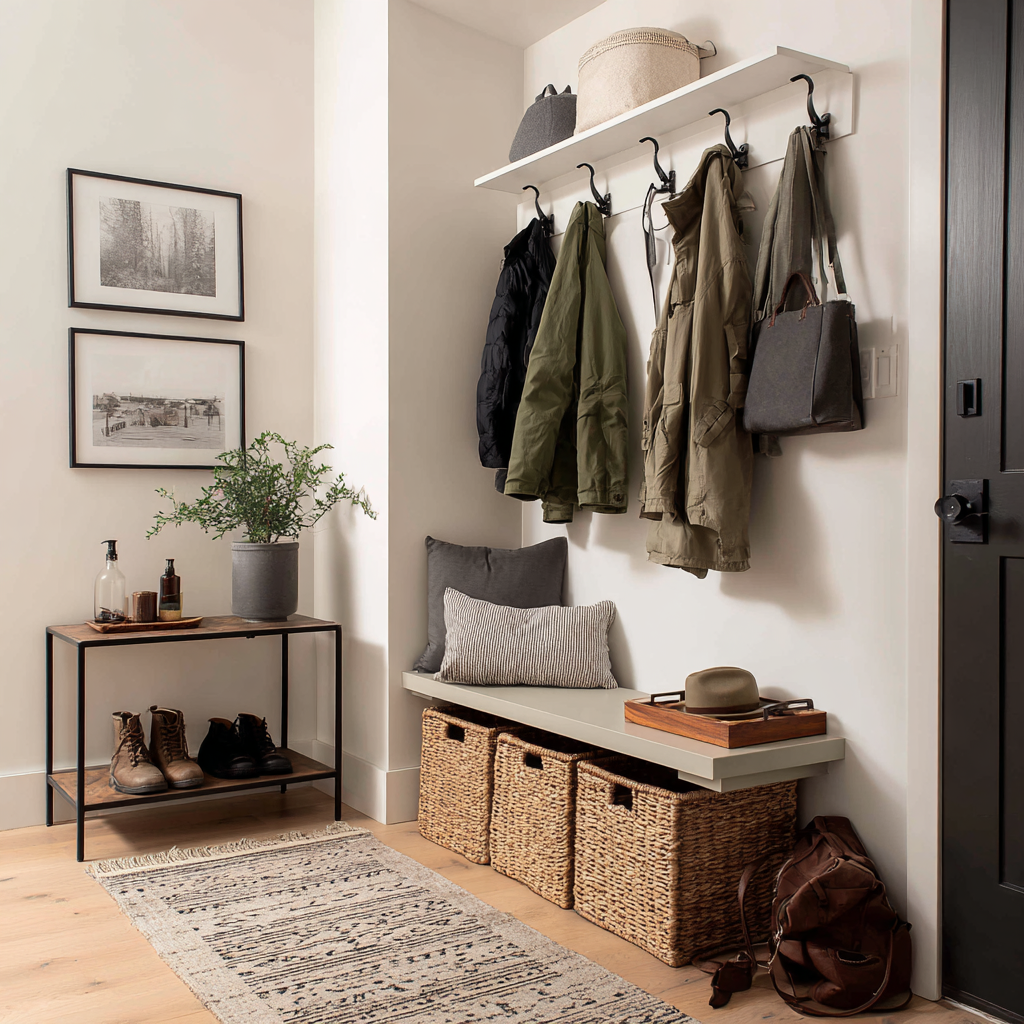
Your entryway sets the tone for everything.
Walk in the door to chaos? Your whole evening feels chaotic.
Walk in to calm organization? Everything feels more manageable.
Install hooks for coats and bags.
We got simple wall hooks from the hardware store. Cost maybe great value. Changed everything.
Everyone gets their own hook. Coats don’t pile on chairs anymore. Bags have homes.
This one thing stopped so many arguments.
Create a shoe system near the door.
We use a bench with baskets underneath. Daily shoes go in the baskets. Overflow shoes live in bedroom closets.
No more tripping over shoes in the entryway. No more searching for matching pairs.
Add a small table for keys and mail.
I got a tray from the thrift store. Keys go in the tray. Mail gets sorted immediately.
No more “where are my keys” panic every single morning.
Everything has a spot right where you need it. You come home. You hang your coat. Put your keys in the tray. Done.
Life-changing.
18. Tackle the Laundry Room
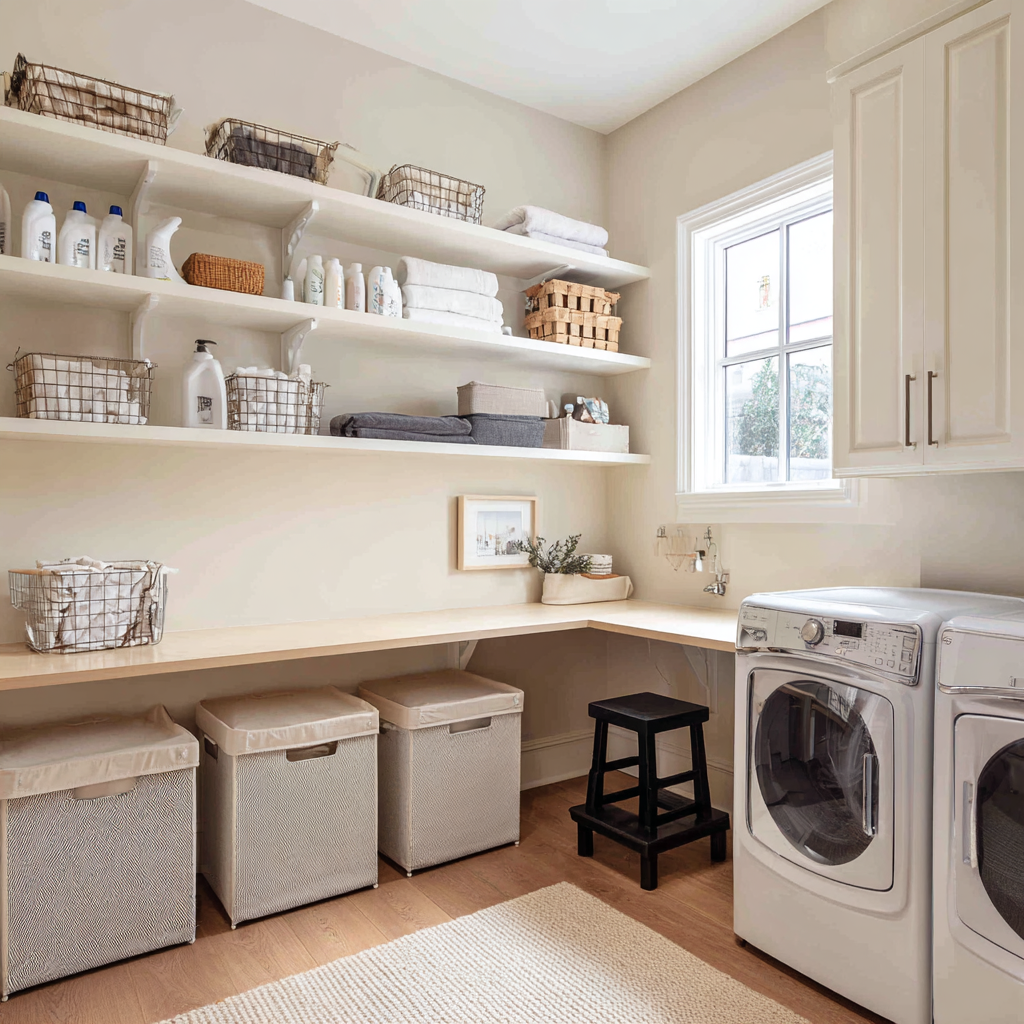
Laundry rooms become dumping grounds.
Mine had cleaning supplies, tools, random storage boxes, old paint cans, and stuff that just didn’t fit anywhere else.
Also, you know, laundry.
Remove anything unrelated to laundry or cleaning.
Tools belong in the garage. Storage boxes need homes elsewhere. Old paint cans? Dispose of them properly.
Focus this space on its actual purpose: clean clothes.
Organize supplies on shelves.
I grouped all detergents together. Stain removers in one spot. Fabric softeners nearby.
Used bins for smaller items like clothespins, dryer sheets, and stain sticks.
Everything’s visible. Everything’s accessible.
Create a folding station if you have space.
I added a small counter on top of my washer and dryer. Even this tiny space made folding easier.
Add sorting hampers for lights, darks, and colors. We have three hampers in our bedroom. Clothes get sorted as we take them off.
Laundry day became so much simpler. No more sorting through one giant pile. Everything’s already separated.
Small changes. Big difference.
19. Declutter Kids’ Bedrooms
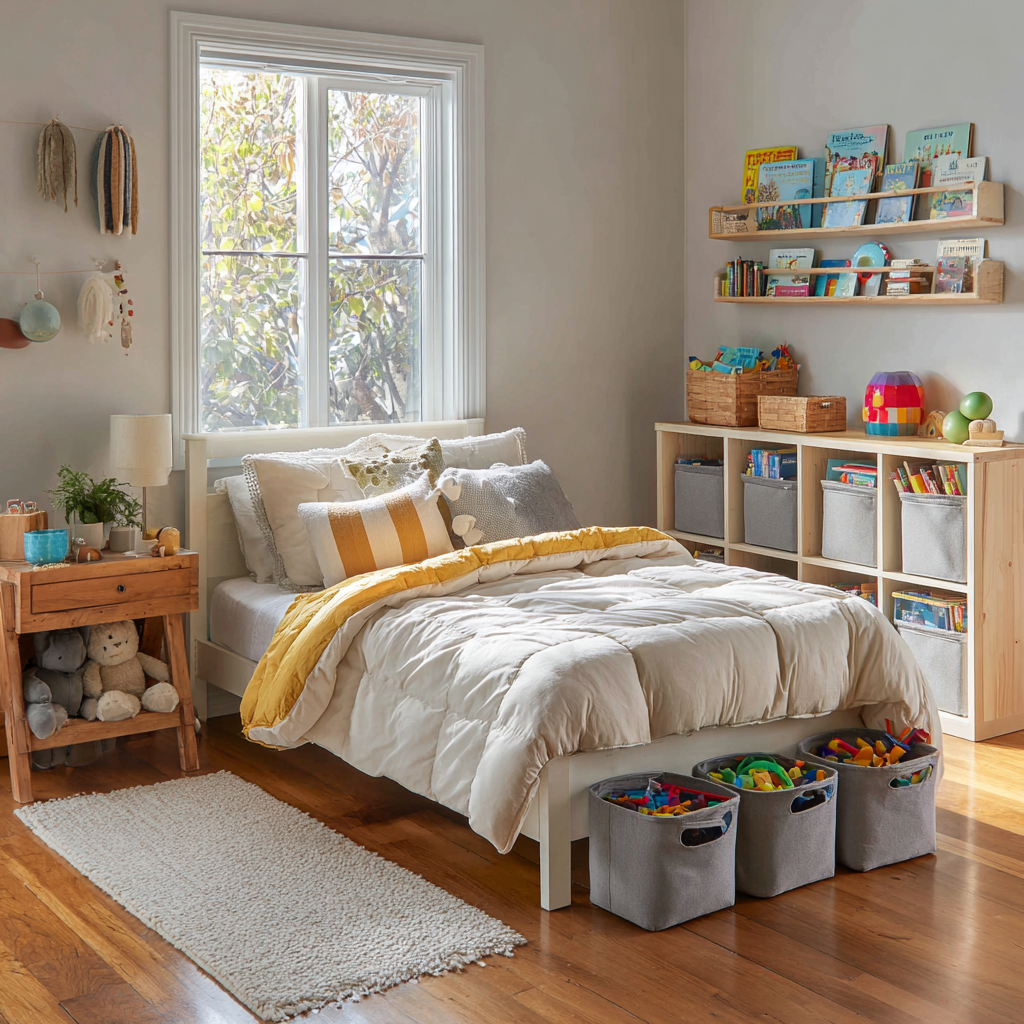
Kids’ rooms accumulate stuff at lightning speed.
Toys. Clothes. Art supplies. Books. Collections. School papers. Crafts. Random things from birthday parties.
It multiplies overnight somehow.
Work with your child on this.
Don’t just throw stuff away while they’re at school. They’ll never trust you again. Ask me how I know.
Make sorting fun instead of punishing. We turned it into a game. “Let’s find toys to give to kids who need them.”
My daughter loved this. She felt generous. Proud. Like she was helping.
Use the “one in, one out” rule going forward.
New toy comes in? Old toy goes out. This prevents the endless accumulation.
Sometimes we let her keep two or three favorites when donating. The point isn’t to be rigid. It’s to maintain control.
Create designated homes for everything.
Toys in bins. Books on shelves. Clothes in drawers.
We labeled bins with pictures for my younger kid. This helps them clean up independently.
Cleanup became part of our bedtime routine. Not a punishment. Just what we do.
Teaching kids to maintain organization? That’s a life skill worth investing in.
20. Organize the Garage or Storage Area
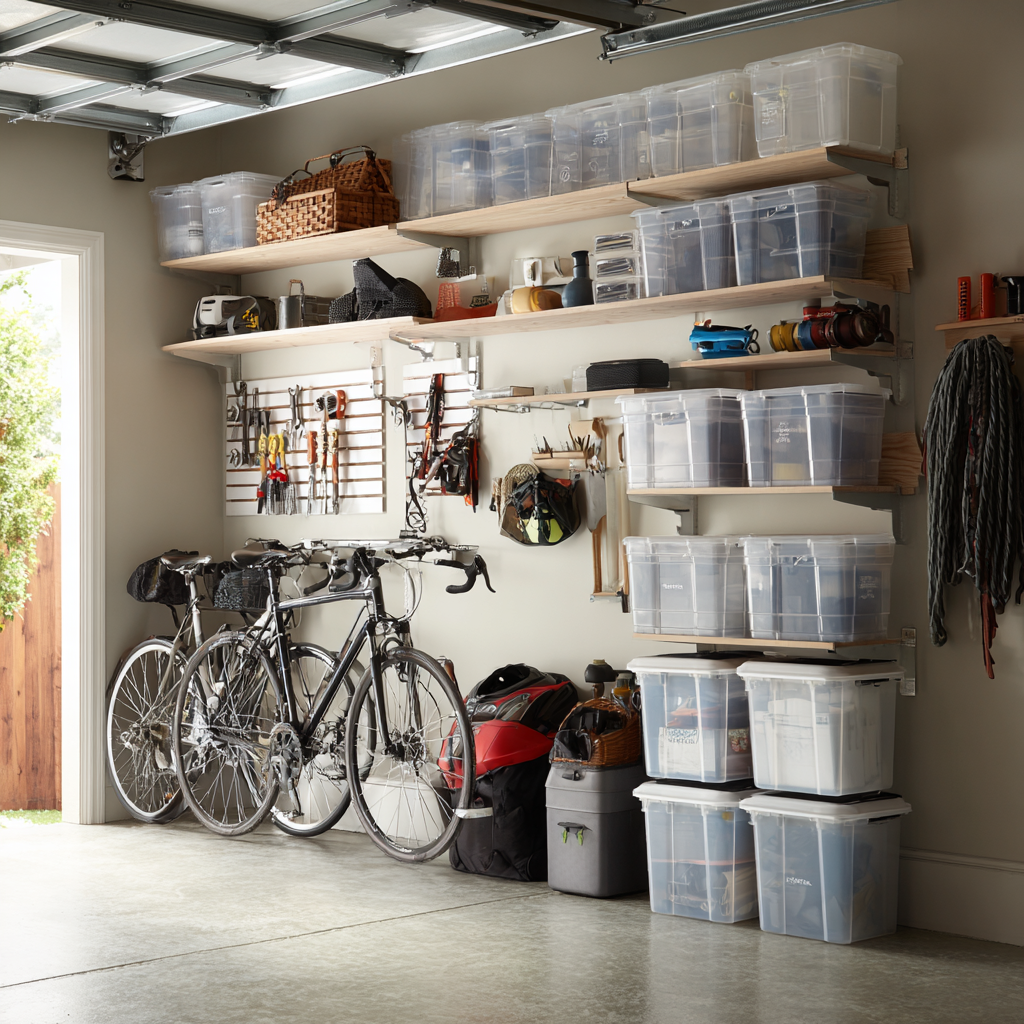
Garages are the final frontier.
Everything without a home ends up here. Broken things you’ll “fix later.” Boxes from moves ago. Seasonal decorations. Tools. Sports equipment. Random stuff.
My garage looked like a storage unit. I couldn’t even park my car in it.
Sort everything into categories:
- Keep and organize
- Donate
- Trash
- Maybe sell
Be ruthless with broken items. If you haven’t fixed it in six months, you won’t.
I had a broken lawn mower sitting there for two years. Two years of telling myself “I’ll fix it this weekend.”
Finally admitted defeat. Took it to the dump. Freed up so much space.
Install shelving along the walls.
We got basic metal shelves from the hardware store. Nothing fancy.
Clear bins work better than cardboard boxes. You can see what’s inside without opening them.
Label everything. Future you will thank present you.
Create zones for different categories.
Sports equipment in one area. Tools in another. Seasonal decorations together. Holiday stuff in its own section.
This logical arrangement makes finding things easy. Also helps maintain organization.
We hung bikes on wall hooks. Freed up massive floor space.
Now? I can actually park my car in the garage. Revolutionary.
21. Create a Drop Zone System
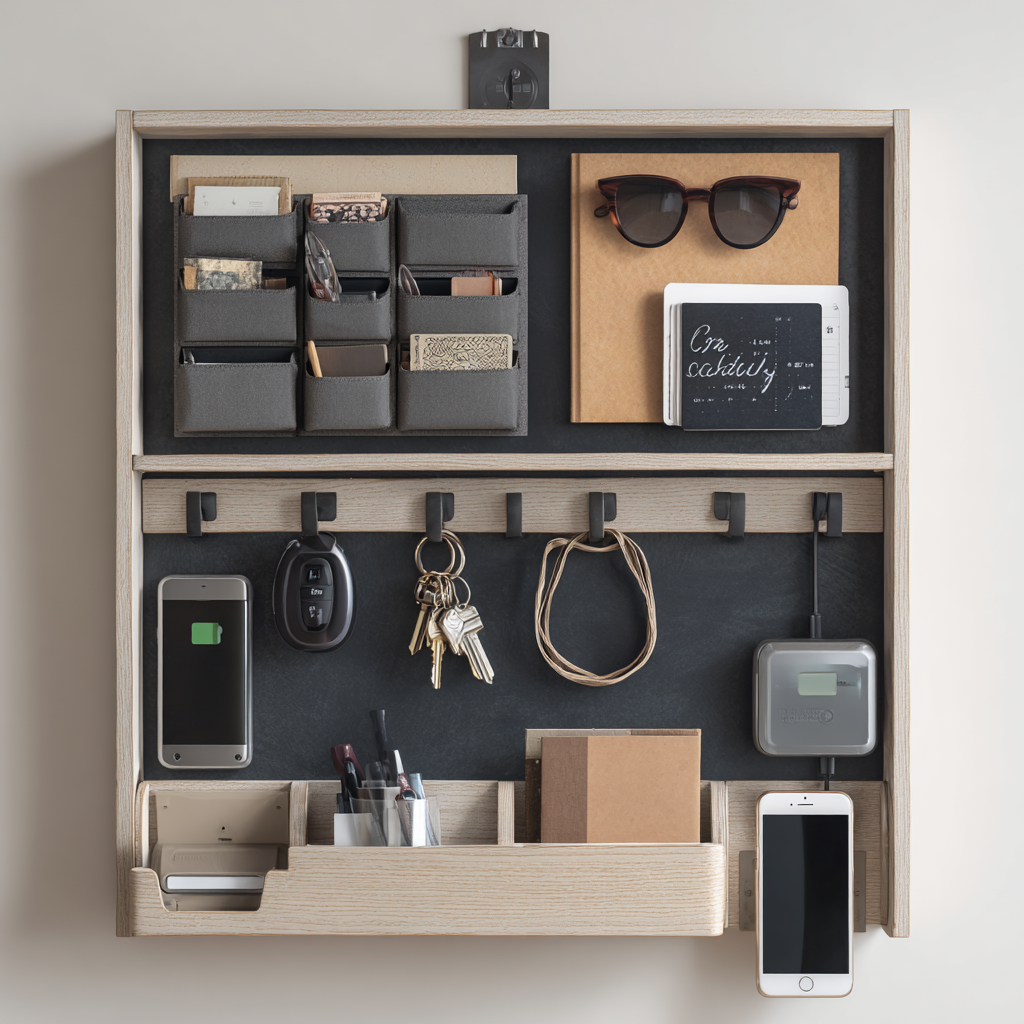
Drop zones prevent clutter from spreading.
Without them, stuff just scatters everywhere when you walk in.
Set up a command center near your main entrance.
We have mail sorters, key hooks, a small calendar, and a charging station.
Everyone knows to drop their stuff here. Not on the kitchen counter. Not on the dining table. Here.
Create individual spaces for each family member.
My son has his own basket. My daughter has hers. We each have our own hook.
This gives everyone responsibility for their items. Reduces the “whose stuff is this” questions.
Teaches accountability too.
Review your drop zone weekly.
We do this Sunday evenings. Sort mail. Recycle old papers. Put away items that accumulated.
This regular maintenance prevents the drop zone from becoming another clutter problem.
Consistency matters more than perfection.
Some weeks I skip it. Life happens. But mostly, we stick to it.
And that’s what keeps our house from sliding back into chaos.
Wrapping This Up
Learning how to declutter your home room by room completely changed my life.
Not exaggerating. My stress levels dropped. My mornings became easier. My house actually felt like a home instead of a storage unit.
You now have a complete roadmap for every major space.
But here’s the thing. This isn’t about perfection. It’s not about creating some Instagram-worthy showroom.
It’s about creating a home that supports your actual life. Reduces your stress. Makes daily routines easier.
Start small.
Pick one room. Or even just one drawer. I started with my nightstand drawer. Took 10 minutes. Felt amazing.
Small progress builds momentum. Every item you remove creates more space. More peace. More clarity.
Be patient with yourself. Clutter accumulated over time. It takes time to clear.
The most important habit?
Maintenance. Spend 15 minutes daily doing a quick sweep. This prevents build-up.
We do ours before bed. Quick walk through the house. Put things back where they belong.
“Everything has a home” became our family motto. When items don’t have designated spots, clutter happens.
Involve your family.
Everyone who lives in your home should participate. Assign age-appropriate tasks. Create simple systems everyone can follow.
Organization works best as a team effort. Not one person doing everything while everyone else makes messes.
Finally, be mindful about what comes in.
Before buying something new, ask: Where will this live? Do I really need it? Will I actually use it?
This mindful approach prevents clutter from returning.
You’ve done the hard work of decluttering. Protect that progress.
Your home should be your refuge. Not your source of stress.
With these room-by-room strategies, you have everything you need to create and maintain the peaceful, organized space you deserve.
Now go clear that one drawer. You’ve got this.
Frequently Asked Questions
How long does it take to declutter an entire house room by room?
Honestly? It depends on how much stuff you have and how much time you can dedicate.
For most people, thoroughly decluttering an average home takes 4-8 weeks. That’s working a few hours per week.
But here’s what I tell everyone: Don’t rush this.
I tried speed-decluttering once. You know what happened? I made hasty decisions I regretted. Donated things I actually needed. Got overwhelmed and quit halfway through.
Quality decluttering takes time. Focus on completing one room fully before moving to the next.
This approach prevents overwhelm. Creates visible progress. Keeps you motivated.
Remember. Your home didn’t get cluttered overnight. Give yourself grace during this journey.
Some weeks you’ll have tons of energy for this. Other weeks, life gets busy and you’ll skip it.
Both are fine. Progress over perfection, always.
What should I do with items I’m not sure about keeping?
The “maybe box” saved my sanity during decluttering.
Here’s how it works:
Get a box. Put all your “I’m not sure” items in there. Store it somewhere out of sight.
Set a reminder for 30-90 days. When that reminder goes off, check: Did you think about anything in that box? Need anything from it?
If not? Donate the whole box without looking inside.
This removes emotional decision-making in the moment. Proves what you actually need.
I created three maybe boxes during my decluttering. You know how many times I opened them to retrieve something?
Zero.
Never thought about them once. Donated all three boxes without peeking.
If you completely forget about items for three months, you don’t need them. Trust the process.
This strategy works for everything except important documents or valuable items. Those need immediate decisions.
How do I prevent clutter from coming back after decluttering?
This is the million-dollar question.
You can declutter perfectly. But without good habits, stuff just piles up again. I learned this the hard way.
Establish the “one in, one out” rule immediately.
New item enters your home? Old item must leave. No exceptions.
Buy a new shirt? Donate an old one. Get a new book? Pass one along.
This maintains equilibrium. Prevents accumulation.
Create designated homes for everything.
Every single item needs a specific spot. Train yourself to put things away immediately. Not “I’ll deal with this later.”
Later never comes. You know this.
Do a 15-minute daily sweep.
We do ours before bed. Quick walk through the house. Put things back where they belong.
This habit prevents the build-up that leads to overwhelming messes.
Address mail and papers immediately.
Don’t let them pile up. Sort as soon as you bring mail inside. Recycle junk. File important stuff. Deal with action items.
Paper clutter is the worst because it multiplies overnight.
These habits maintain your decluttered spaces with minimal effort. Prevention requires consistent small actions. Not occasional big purges.
Should I declutter when I’m feeling overwhelmed or wait until I’m motivated?
Start when you’re overwhelmed. Seriously.
I know this sounds backward. But waiting for perfect motivation means waiting forever.
Here’s what I do when overwhelmed:
Set a timer for just 10 minutes. Tackle one small area. One drawer. One shelf. One corner.
Small progress reduces overwhelm. Often creates motivation to continue.
Action creates motivation. Not the other way around.
I’ve never once finished a 10-minute decluttering session and thought “I wish I hadn’t done that.” Never.
Even on low-energy days, clearing one surface counts as progress.
Every small step moves you closer to the organized home you want.
Some days I’m on fire. I declutter for hours. Make massive progress. Feel amazing.
Other days? I clear one shelf and call it a win.
Both are valid. Both move you forward.
The trick is showing up. Even when you don’t feel like it. Even when motivation is zero.
Ten minutes. That’s all you need to start.
And that’s usually all you need to remember why you’re doing this in the first place.